How to find your saved recordings in Content Warning
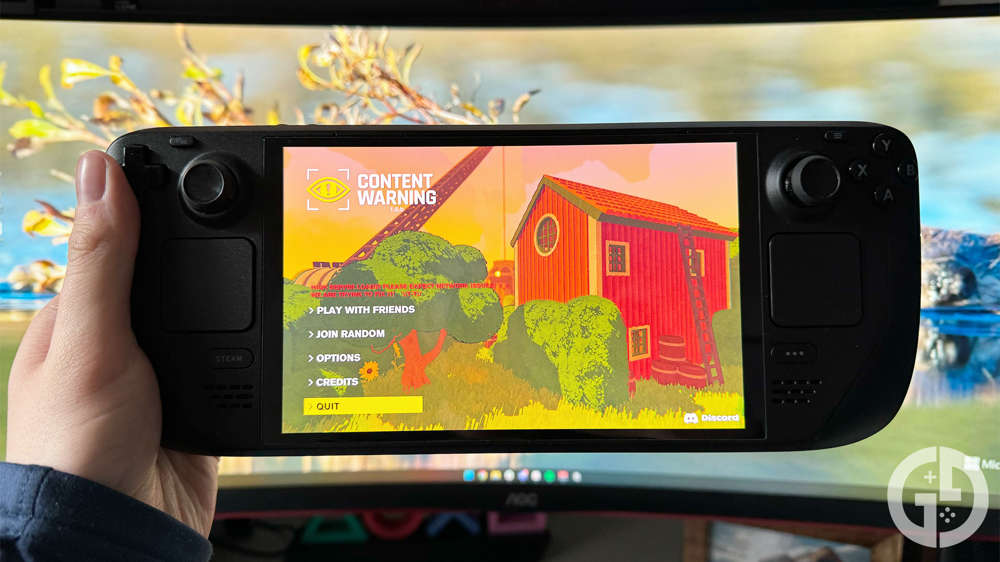
Content Warning is all about collecting recordings of spooky stuff, but did you know you can save those clips directly to your desktop? Here's how to do just that.
In Content Warning, you’ll endeavour to film some truly horrifying recordings to publish to the in-game website, hopefully earning you a fortune as you develop your spooky online media empire.
When you upload your clips to SpookTube, you’re also given the option to save a local copy of your recordings to your computer. However, it’s not immediately obvious where these recordings are saved - it took me a good deal of searching to find mine before spotting them in a fairly obvious place.
Where to find saved recordings from Content Warning
By default, Content Warning recordings are saved to your Desktop. To find these, minimise all the windows you have open and look for the files among your icons.
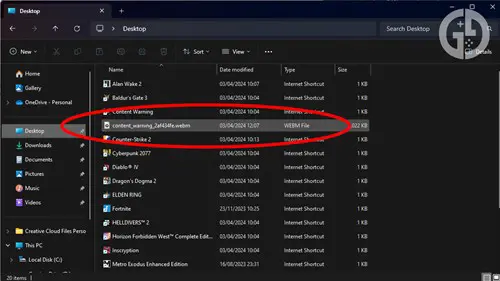
Alternatively, open up Windows File Explorer and click on ‘Desktop’ in the menu to the left. Here, you’ll find all your saved files named something along the lines of ‘content_warning’ followed by a string of numbers.
There currently isn’t a way to change where these recording files are saved. If you want to store them in a different folder, you’ll need to move them over manually each time you save a new one.
How to save recordings in Content Warning
If you’re not sure how to save your recordings from Content Warning in the first place, I’ve got you covered.
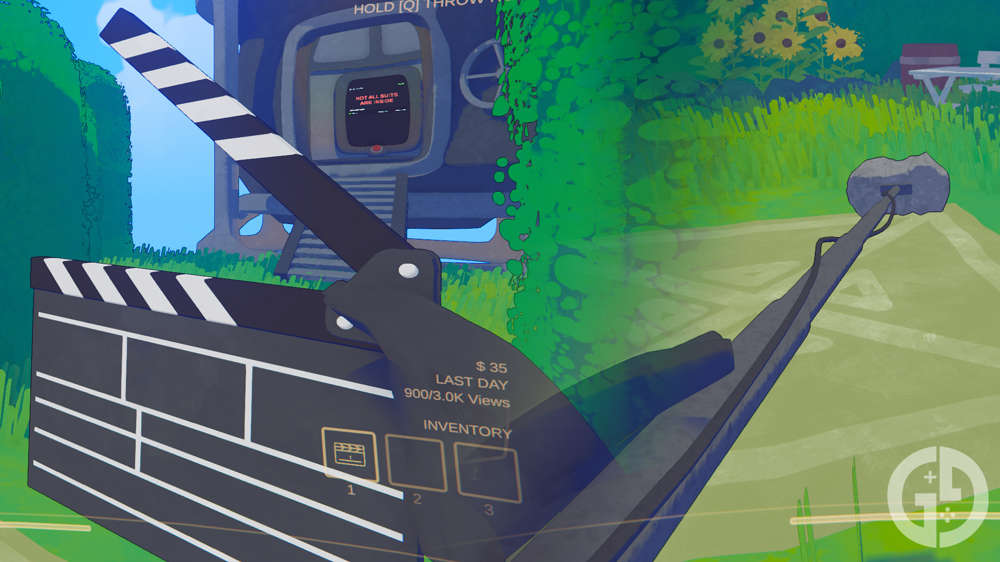
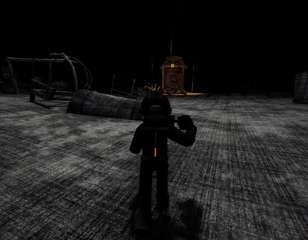
First, you’ll need to actually record some footage. Equip the camera that you’re given at the start of the game, and head down in the Diving Bell to the ‘Old World’.
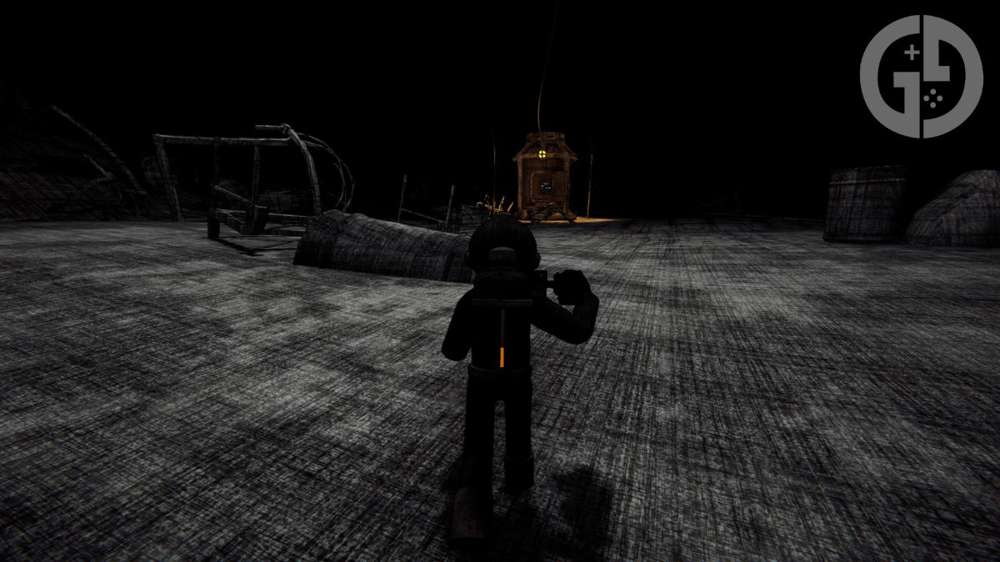
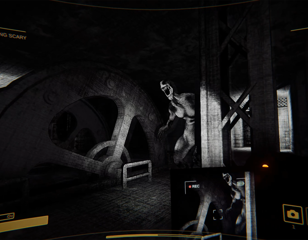
Once down there, have a wander about and look for something spooky - there are plenty of monsters lurking in the shadows if you explore far enough. Once you’ve found something worth filming, bring up your camera and start filming with the ‘Left Mouse Button’.
You can use the scroll wheel to zoom in, or even press ‘R’ to enter Selfie Mode. Keep an eye on the little square screen on the side of your camera to see what you’re capturing.
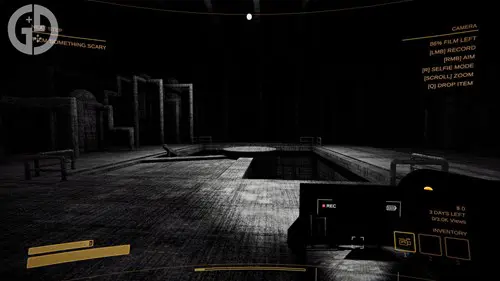
Once you’ve got a recording, return to the Diving Bell and ascend to the surface. Then, look for the box with a Camera logo on it. Walk up to this, and press ‘Q’ to drop your camera in there.
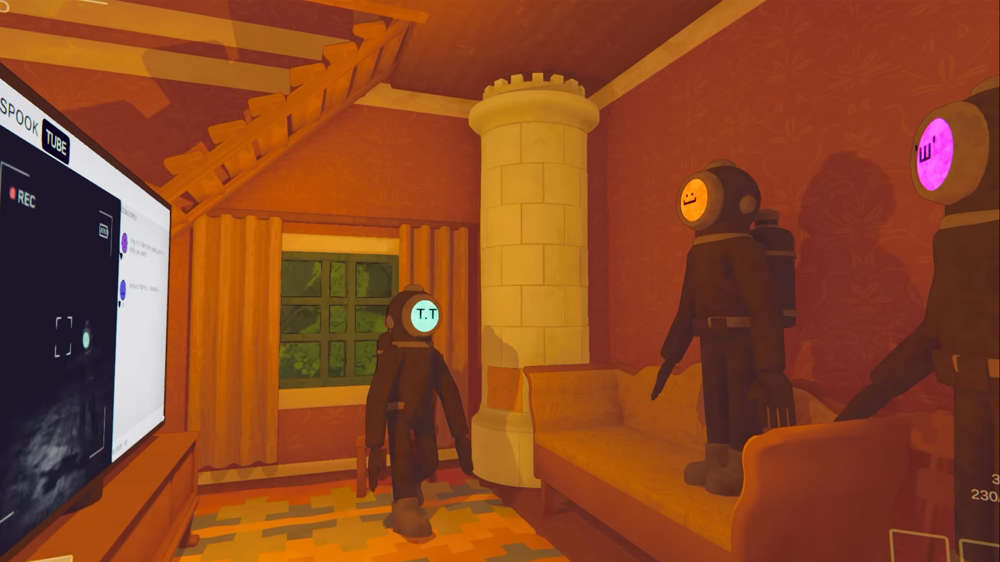
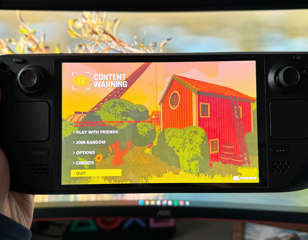
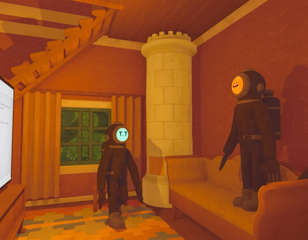
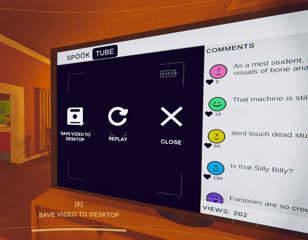
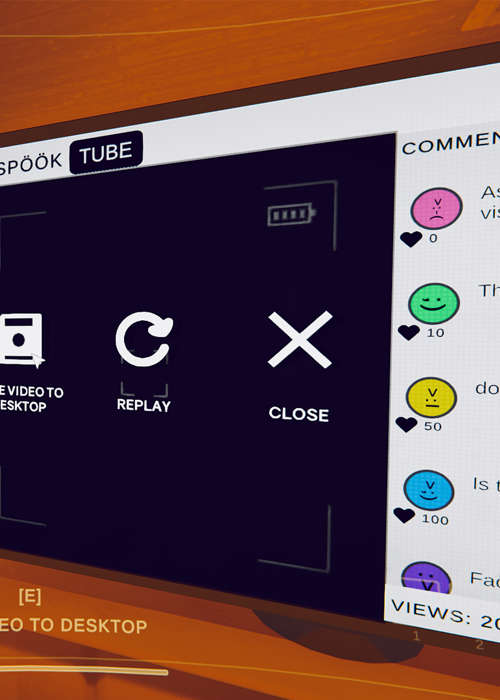
The box will then spit out a CD, which you’ll need to take to the TV that’s inside your house. Insert the CD, and once the video has played out, you’ll see an option to ‘Save Video To Desktop’. Click on this, and the file will appear on your Windows Desktop, as described above.
How big are the saved recordings?
As the saved recordings are incredibly low resolution (420x420 pixels, if you’re curious), the file sizes are equally as low. I had a look at one of my recordings, and a clip that’s 1 minute 30 seconds is only 3MB! This makes the clips super shareable if you want to send them to your mates or post them on your social media channels.
The files are saved in the WEBM format, so you can open them with the default Windows Media Player application. However, some social media sites won’t let you upload WEBM files natively. I tried to share mine on X (formerly Twitter), and it came up with an error. You’ll need to use a file converter site to change the format to mp4 if you want to share your clips there.
However, I also tried sharing the clip via Discord, and that handled the WEBM file with no issues at all.
For more helpful Content Warning guides, keep reading GGRecon. We’ve also covered how to change your character’s face.

About The Author
Joshua Boyles
Joshua is the Guides Editor at GGRecon. After graduating with a BA (Hons) degree in Broadcast Journalism, he previously wrote for publications such as FragHero and GameByte. You can often find him diving deep into fantasy RPGs such as Skyrim and The Witcher, or tearing it up in Call of Duty and Battlefield. He's also often spotted hiking in the wilderness, usually blasting Arctic Monkeys.

