What is Vexcalibur & how to get it in Destiny 2: Lightfall
Vexcalibur is a brand new exotic weapon that dropped as part of a secret exotic mission in Destiny 2: Lightfall, here is everything you need to do to get it.
This is part of the ‘Destiny’ directory
Directory contents
-
Seasonal Artifact Mods
-
All Exotic Weapons & Armour
-
Best Prismatic builds
-
Campaign Mission List
-
Convalescence: Budding
-
Ending Explained
-
Episode Echoes Act 1
-
Episode Heresy Explained
-
Episode Revenant Explained
-
Ergo Sum Exotic
-
Every Prismatic Aspect, Fragment & Ability
-
Red Death Reformed
-
Wild Card Mission
-
All DLC & Expansions
-
Solstice 2024
Vexcalibur is a new exotic weapon in Lightfall that players can get from a secret mission. Destiny 2 loves to give players challenges to unlock new exotic weapons and their catalysts.
Vexcalibur is a new exotic glaive that also brings back an old friend. Here is what you need to do to get the exotic weapon.
What is the Vexcalibur?
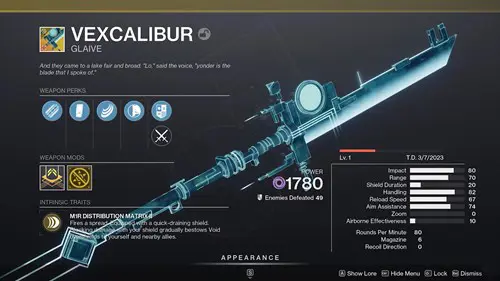
Vexcalibur is a Void Glaive in the special weapon slot. It is also a craftable exotic weapon, in the same vein as Destiny 2 Revision Zero. Also similar is how you will need to complete further quest steps to unlock several catalysts for the weapon.
In fact, Vexcalibur even has more intrinsic perks for you to unlock, making this a highly customisable weapon. The base intrinsic perk grants Void over-shields when you block, and also grants that shield to nearby allies.
How to start the mission
To get Vexcalibur, you need to complete the new secret exotic quest mission. Secret, as it is not marked on your map or clearly labelled. To begin, head to the Gulch in the EDZ.
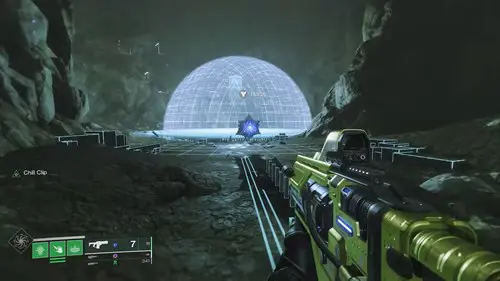
To open the way to the beginning of the mission, you need to collect six Vex fragments around the area before the timer runs out. The six locations are:
- Above the sign at the eastern entrance to the area
- West of that sign, in the middle of the open area, between some trees
- North of the previous fragment, near the edge of the area
- South of that, up on the cliff along the southern edge of the region
- Go up the ramp near the tunnel to the cliff near the overpass, the fragment is on a box
- The last one is under the overpass south of that cliff
You do not need to do them in this or any particular order, this is just a way to go from one side to the other. You do need to be quick, so it is best to be efficient. If other players in the area are also doing this, you may not need to do this at all, as they could have opened the way.
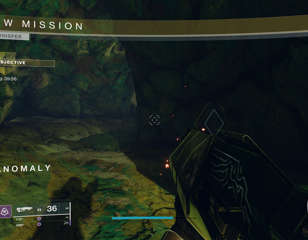
Once all six coordinates are acquired, a cave entrance will open. It is in the southeast of the region, on a cliff you can get to from the top of the overpass. If you look up, you will see a huge Vex portal, directly beneath that is where you need to go. Head into the cave and interact with the Harpy to begin the mission.
How to complete the NODE.OVRD.AVALON exotic mission
Part one: The maze
This mission takes us back into the Vex network and hearkens back to the Pyramidian strike on Io. If you are not at a high level yet, the regular version of this mission, which is all you need to do to get the weapon itself, you will be raised to 1790 to get you through it.
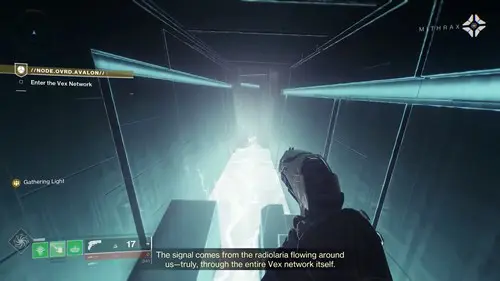
The first part of the mission is a maze-like run through a Vex installation on your way to the network. You will need to make your way through winding and narrow corridors while avoiding the radiolaria and dealing with the occasional Harpy.
The trickiest bit is after you come to a two-way junction, you need to go right. A little after that, as you go down some more paths, you will encounter two Harpies, and to the left of them is a tiny entrance. Head through that entrance and follow the path down to complete the maze.
Part two: Vex Confluxes
The next few rooms are combat and puzzle encounters. There will be plenty of enemies to deal with, while a series of shapes float around a conflux in the middle. Nearby, you will see the same shapes, but smaller and in a vertical line. This line tells you, from top to bottom, in which order to shoot the shapes floating around the conflux.
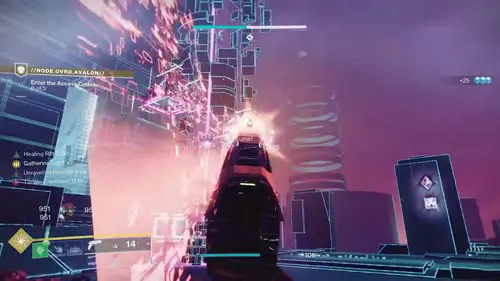
Complete these encounters, then follow the path onwards. You will need to cross some large gaps, so a Strand grapple would be handy here. Go through a low corridor full of moving obstacles to get to the first boss encounter.
Part three: First boss
This boss fight is mostly mechanic-based, and you need to be quick. Your first objective is to collect data and take shelter. Kill Hobgoblins around the arena and they will drop pink motes, you need ten of these to open the pit in the center of the room.
You need to be in that pit when the timer ticks down, or you will be killed. You are not invulnerable while in the pit however, and a Wyvern will be attacking you while you are in there, so take it out quickly, blind or disorient it, or go invisible to avoid it.
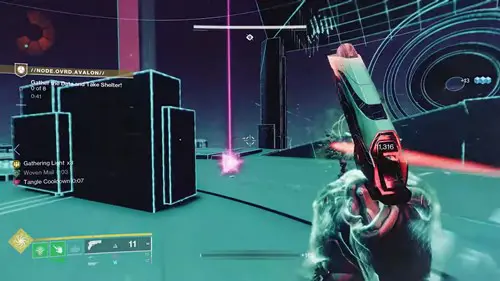
After two rounds of this, the boss will spawn. Take it's health down to about half and you will have to repeat the previous steps. Do this until the boss is dead, and then we can move on. Exit the arena on the opposite side from where you came in, cross some platforms, go through a portal, and enter the final boss room.
Part four: Final boss
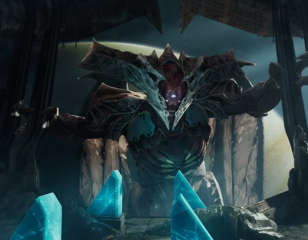
The final boss is a reprisal of Brakion from the Pyramidion strike. The first phase is pretty straightforward, you have the boss and several ads to deal with. Damage the boss until you take a third of its health off, then go through the portal to phase two.
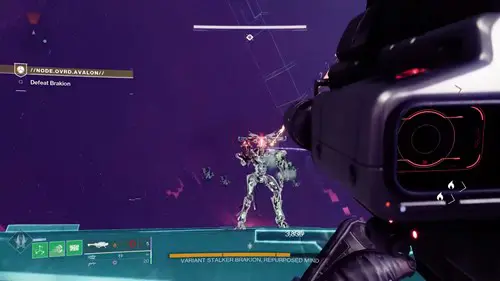
In this phase, the boss will be in one of the corners of the room and shielded away. To break the shield you need to destroy floating shapes around a conflux in the center, like the earlier part of the mission. To find the correct sequence, look to the left and right sides of the room. On one side, you will find a transparent section of floor and the pattern beneath it.
Enter the pattern at the conflux and the shield will drop. Damage the boss to around half health and you will need to break the shield again. Repeat the process, and at around one-third health you will enter phase three.
Phase three is hectic but quite simple, you will face the boss in an open arena. The boss will be more aggressive and there will be plenty of ads to deal with too. Take the boss down, then retrieve Vexcalibur to complete the mission. Head to the H.E.L.M. to turn in the quest and receive Vexcalibur for yourself.
For more on the game, check out how to get Destiny 2 Deterministic Chaos.

About The Author
Dave McAdam
Dave is a Senior Guides Writer at GGRecon, after several years of freelancing across the industry. He covers a wide range of games, with particular focus on shooters like Destiny 2, RPGs like Baldur's Gate 3 and Cyberpunk 2077, and fighting games like Street Fighter 6 and Tekken 8.
This is part of the ‘Destiny’ directory
Directory contents
-
Seasonal Artifact Mods
-
All Exotic Weapons & Armour
-
Best Prismatic builds
-
Campaign Mission List
-
Convalescence: Budding
-
Ending Explained
-
Episode Echoes Act 1
-
Episode Heresy Explained
-
Episode Revenant Explained
-
Ergo Sum Exotic
-
Every Prismatic Aspect, Fragment & Ability
-
Red Death Reformed
-
Wild Card Mission
-
All DLC & Expansions
-
Solstice 2024

