Escape from Tarkov: How to get & use tripwires
Tripwires are an intriguing new addition to Escape from Tarkov, so make sure you've learned how to get and use them as you'll definitely have an advantage.
This is part of the ‘Escape From Tarkov’ directory
Directory contents
-
Anesthesia
-
Beyond the Red Meat Part 1
-
BP Depot
-
Burning Rubber
-
Checking
-
Chemical Part 1
-
Classified Technologies
-
Corporate Secrets
-
Delivery from the Past
-
Drug Trafficking
-
Energy Crisis
-
The Extortionist
-
First in Line
-
Grenadier
-
Gunsmith Part 2
-
Gunsmith Part 3
-
Gunsmith Part 9
-
Gunsmith Special Order
-
Hot Delivery
-
Introduction
-
Letters
-
Luxurious Life
-
Out of Curiosity
-
Pharmacist
-
Rough Tarkov
-
Saving the Mole
-
Search Mission
-
Seaside Vacation
-
Shooting Cans
-
Shortage
-
Stray Dogs
-
The Walls Have Eyes
-
What's on the Flash Drive
-
Exit Here
While tripwires are proving a rather controversial addition to Escape from Tarkov's repertoire, understanding how to get them and how they work is essential to your in-raid success.
Thankfully I've laid out everything you need to know below, giving you the knowledge you need to surprise your opponents with a rather mischievous mechanism.
How do tripwires work?
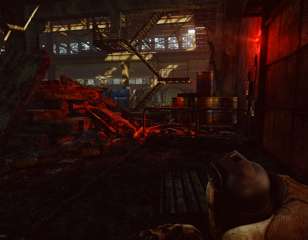
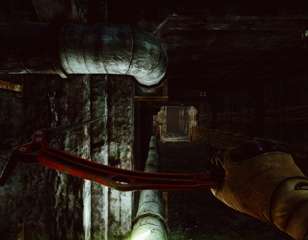
Tripwires are a new addition in patch 0.15, and serve as short wire-based traps that set off a grenade when triggered. Officially named the 'tripwire installation kit', these traps can be used by both players and the new boss Partisan, and are something you'll have to watch out for in your raids going forward.
You'll be able to activate these tripwires in a number of different ways, including:
- Shooting the wire from a short distance
- Hitting the wire with explosive shrapnel
- Hitting the wire with any physical object, including payers, bots, or items
These give a wide range of scenarios where a tripwire may go off, but you'll likely find that they're most commonly triggered when a player is unfortunate enough to walk through them.
Thankfully there is a delay between the wire being triggered and the grenade exploding, with each grenade having a unique activation time. I'd expect these to be along the lines of around three seconds, giving you enough time to run into safety if you realise that you've activated a trap.
You'd be delighted to know that trapwires can be manually disarmed though, giving you a chance to avoid an explosion if you spot it beforehand. The disarming process can be sped up too by using a multitool, giving you a reason to always keep one in your secure slots. You'll even be able to pick up the grenade after disarming the trap, giving you another tool to use in a fight.
Finally, tripwires will automatically disarm themselves after a period of time, so you won't have to worry about being caught in one that's placed at the start of the raid. The exact length of time that a tripwire will be up for is unknown, but hopefully it's quite short to emphasise clever placement.
How to get tripwires
Tripwires can only be purchased from Jaeger after completing a specific task chain, and are unable to be found in raid, purchased on the flea market, or obtained from any other Trader.
This should severely limit the supply of them in your raids, especially when it comes to recycling them from other PMCs. How many you'll be able to purchase each reset is still yet to be seen, but hopefully, it's only a small number.
The item itself, as mentioned, is a tripwire installation kit, and you'll also need a grenade alongside that in order to complete the trap. Different grenades will produce different results, so that's also something you'll have to take into consideration.
How to use tripwires
Once you've obtained the tripwire installation kit and your grenade of choice, equip the grenade into your hands and then press the 'B' key.
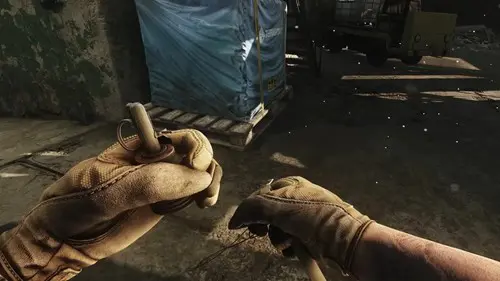
This will give you the option of setting the length of the wire, and it has both a minimum and maximum length you'll need to adhere to.
You'll also need to make sure that you place it on a flat or slightly inclined surface, as otherwise, the tripwire won't be able to support itself.
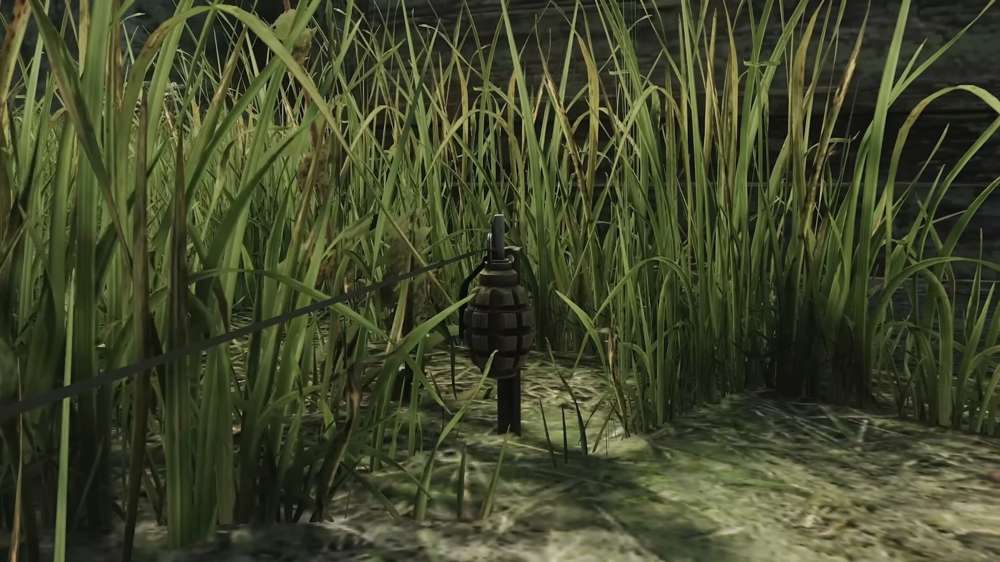
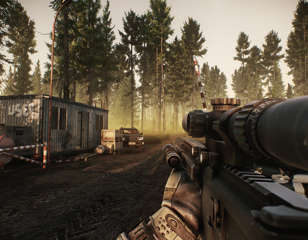
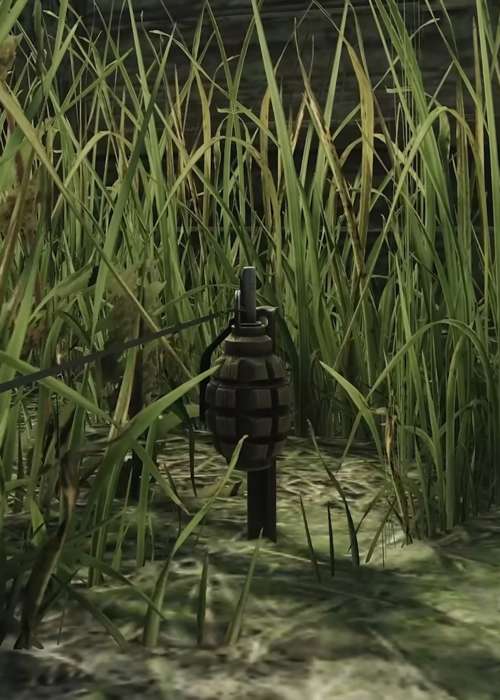
I'd recommend placing the trap in grassy and forest areas where there is lots of pre-existing debris on the floor. This makes it harder for players to spot, and they'll also likely be paying less attention to the ground itself.
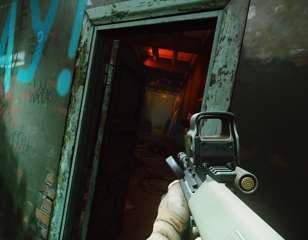
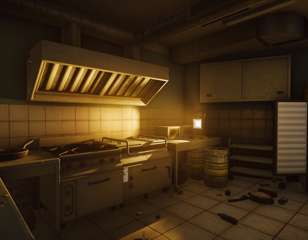
You should also try and locate it within specific choke points as there's a far greater chance that it'll be triggered compared to being out in the open. I'd expect that you'll also have a lot of success placing it inside dark buildings by doorways, as it'll be equally hard to spot and easy to walk into.

About The Author
Harry Boulton
Harry is a Guides Writer at GGRecon, having completed a Masters of Research degree in Film Studies. Previously a freelance writer for PCGamesN, The Loadout, and Red Bull Gaming, he loves playing a wide variety of games from the Souls series to JRPGs, Counter-Strike, and EA FC. When not playing or writing about games and hardware, you're likely to find him watching football or listening to Madonna and Kate Bush.
This is part of the ‘Escape From Tarkov’ directory
Directory contents
-
Anesthesia
-
Beyond the Red Meat Part 1
-
BP Depot
-
Burning Rubber
-
Checking
-
Chemical Part 1
-
Classified Technologies
-
Corporate Secrets
-
Delivery from the Past
-
Drug Trafficking
-
Energy Crisis
-
The Extortionist
-
First in Line
-
Grenadier
-
Gunsmith Part 2
-
Gunsmith Part 3
-
Gunsmith Part 9
-
Gunsmith Special Order
-
Hot Delivery
-
Introduction
-
Letters
-
Luxurious Life
-
Out of Curiosity
-
Pharmacist
-
Rough Tarkov
-
Saving the Mole
-
Search Mission
-
Seaside Vacation
-
Shooting Cans
-
Shortage
-
Stray Dogs
-
The Walls Have Eyes
-
What's on the Flash Drive
-
Exit Here
