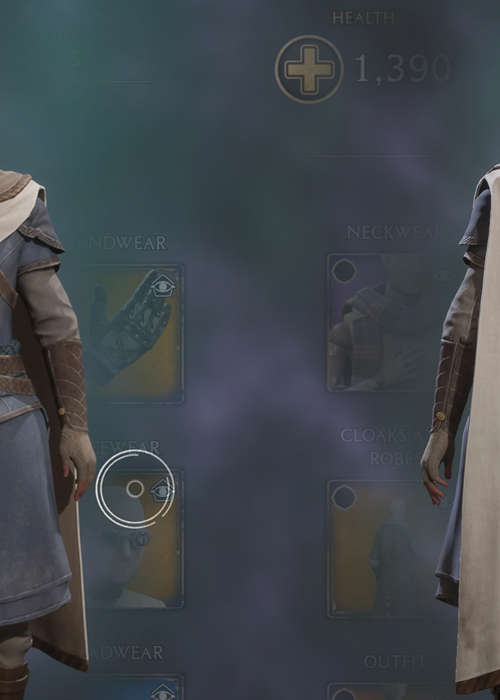
How to solve the Halls of Herodiana Puzzles in Hogwarts Legacy
Read here to find out how to activate and solve all Herodiana Puzzles in Hogwarts Legacy and earn the Herodiana outfit.
The Herodiana Puzzles are optional side quests in the game in which you can complete to unlock the Herodiana garb. Herodiana Byrne was once a professor at Hogwarts and a master Depulso castor, and this Hogwarts Legacy quest has you accessing her secret training rooms and retrieving the Herodiana outfit.
To find out how the solution to the Herodiana puzzles, read here.
Disclaimer: While the creator of the Harry Potter franchise was not directly involved in the creation of Hogwarts Legacy, their comments on social media around transgender people are hurtful and dangerous given the size of their platform.
We’d implore you to read our explainer of the controversy so far and consider supporting trans rights charities where possible.
How to unlock The Halls of Herodiana
First things first, to progress in the quest, you'll need access to the Depulso and Accio spells, this means you must have completed Professor Sharp's first assignment.
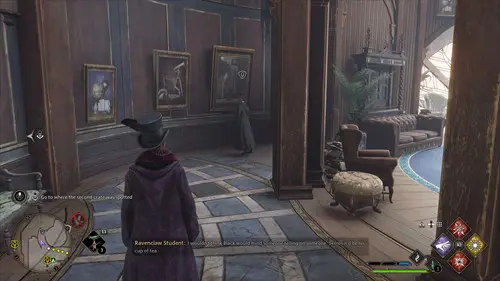
With those available, to trigger the quest, you'll then want to complete the main quest 'The Helm of Urtkot'. Once you have done so, travel to the Charms Classroom waypoint and speak with Sophronia Franklin (she will be standing in front of the portraits in the sitting area). Here, she will fill you in on the quest and give you the marker towards the secret training room.
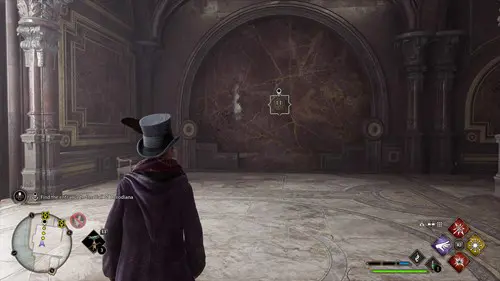
To find the room, simply head to the lowest floor of the Defence Against the Dark Arts tower. From the doorway which leads to the Transfiguration Courtyard, turn left. On the back wall, there will be a square symbol. Hit the symbol with Depulso to unlock the entrance.
How to complete The Herodiana Puzzles
First Herodiana Puzzle
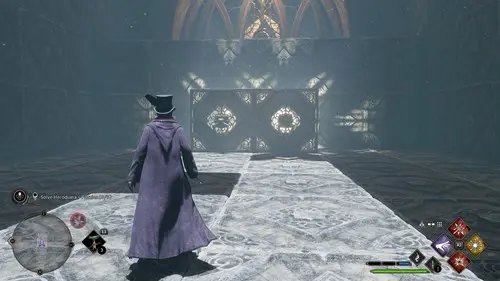
The first puzzle is an easy one. As soon as you enter the hall, cast Depulso on the two glowing square boulders in front of you. This will push them to a ledge which you can now climb. On the ledge is a chest containing the first item - Herodiana's Cape and the path forwards.
- For more Hogwarts Legacy help, check out our guide on how to get a broomstick in the game, and unlock the most scenic way to travel across the grounds.
Second Herodiana Puzzle
You'll notice in the second room a single cube and a cube of two. Cast Depulso on the single cube to move it forward. Cast Accio on the two cubes to bring them out to the left.
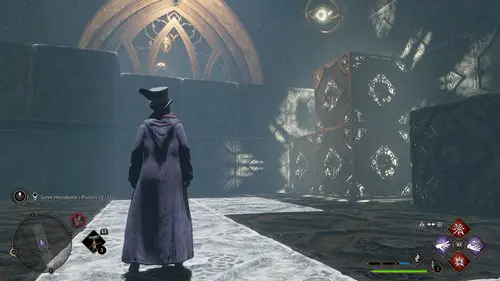
Then cast Depulso on the set of two to move them forward and join the singular cube. Now move all three to the right side using Accio. Now, you can climb up them and jump across to the next gate. Here, is the second chest containing Herodiana's Attire.
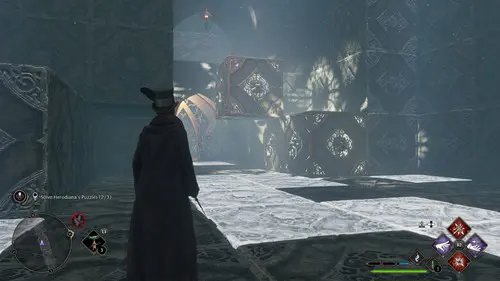
If you would also like to grab the optional chest in the rafters of the second room do the following:
- Move the single cube forwards with Depulso
- Move the single cube to the right with Accio
- Move it forward with Depulso
- Move it to the left with Accio (it will be stopped by another cube)
- Now move it all the way to the back of the room with Accio.
- Move the two-block piece from the right side to the left side of the room.
- Move it backwards (if you are facing in from the entrance)
- Move it back to the right side where it will be blocked by another block.
- Move it back
- Move it left
- Now climb from the two-piece to the singular cube and you will be high enough to climb to the ledge with the chest.
- You can reset the room by casting a simple spell at the hanging gold light.
Third Herodiana Puzzle
The last Herodiana puzzle can be somewhat tricky. There is a two-cube piece that must be moved around the grid to help you get across. Follow these moves:
- Use Accio to move the cubes to the right.
- Send it forward with Depulso.
- Climb on top of the cubes to the far left.
- Cast Accio to bring the glowing cubes to the left so they are aligned in front of you.
- Hop across to the unmovable cubes in front of it.
- Send a simple cast on the switch to reset the board (the switch is the light source of the room, a light within a cube within moving spheres).
- Cast Accio on the glowing cubes to bring them forward.
- Cast Accio again, angled, to bring them in front of you on the left-hand side.
- Hop across to get to the ledge at the end of the room.
- Inside the chest is the last piece of Herodiana's clothing.
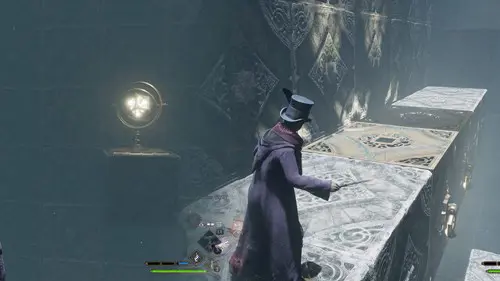
If you fall at any point, there is a smaller cube that you can climb up on to get back to the platform (bottom right corner).
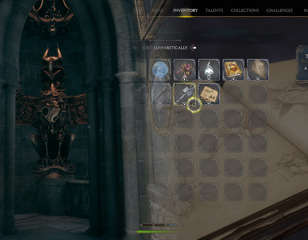
Now, return to Sophronia to complete the quest, feel free to change your gear appearance in the 'gear' menu to equip the Herodiana outfit.
For more Hogwarts Legacy help, check out our guide on how to open the chests with eyes in Hogwarts Legacy. These chests hold 500 galleons each, so are well worth your time.

About The Author
Kiera Mills
Kiera is a former GGRecon Guides Writer.
Related
More Like This
Hogwarts Legacy patch notes March 8: Biscuit quest fix, female avatar face fix & more
Read here for the latest Hogwarts Legacy patch notes and see the biggest changes to the game. Hogwarts Legacy finally fixes the Biscuit quest bug among others, read here for a full list of the most important fixes.
111 weeks ago

