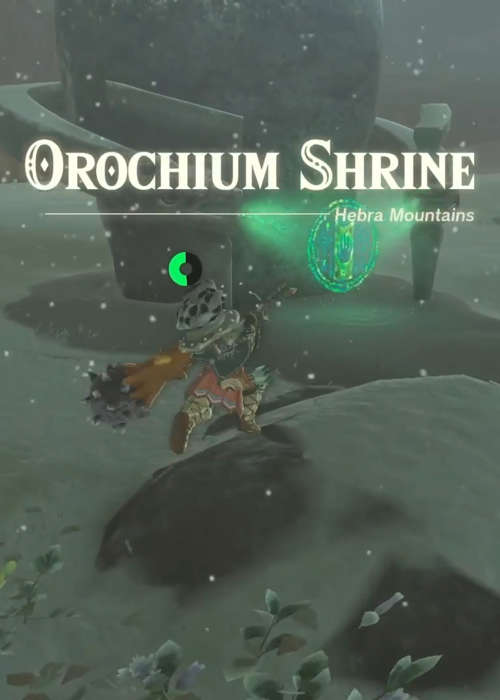
How to find & solve the Orochium Shrine in Zelda: Tears of the Kingdom
Check out our breakdown of the Zelda: Tears of the Kingdom Orochium Shrine, which covers the map location and the solution to the puzzles inside.
If you're struggling with the Zelda: Tears of the Kingdom Orochium Shrine, check out our breakdown of the map location and the solution to the Shrine's puzzles.
The Legend of Zelda: Tears of the Kingdom contains plenty of content across its world for players to sink their teeth into, with a huge amount of Shrines to complete, Korok Seeds to collect, and much more. Thanks to your new abilities, many of the Shrines in the game are much harder and require you to think outside the box often.
So, if you need some help with the Orochium Shrine in Zelda: Tears of the Kingdom, check out how to complete it.
Where is the Orochium Shrine in Zelda: Tears of the Kingdom?
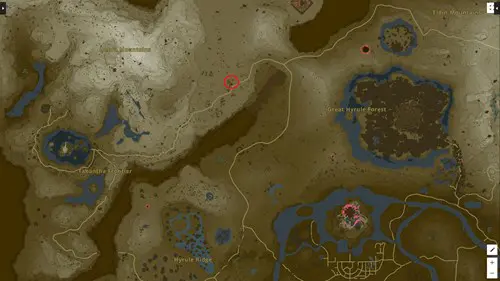
The Tears of the Kingdom Orochium Shrine location can be found in the Hebra Mountains northwest of Hyrule. It's also located next to the Forgotten Temple, which is an area you'll come to as part of the main quest eventually.
The exact coordinates for the Orochium Shrine are -1638, 2643, 0239, and it's worth noting you'll need some protection against the cold while up here.
- Check out our recommendations of the best recipes to cook in Zelda: Tears of the Kingdom.
Orochium Shrine puzzle solution
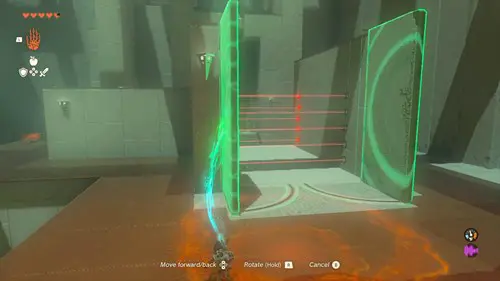
Once you've found and opened the Orochium Shrine in Zelda: Tears of the Kingdom, you will need to solve the puzzles inside for your reward. We'll also cover how to get the chests for some extra rewards.
Here's a step-by-step walkthrough to ace the Orochium Shrine:
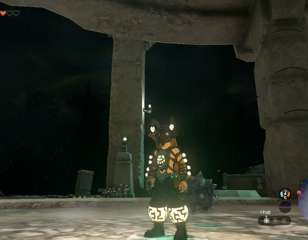
- Walk forward and open the doors using Ultrahand, but don't go inside because of the lasers.
- Make your way around the left side, and use Ascend into the pillar above you.
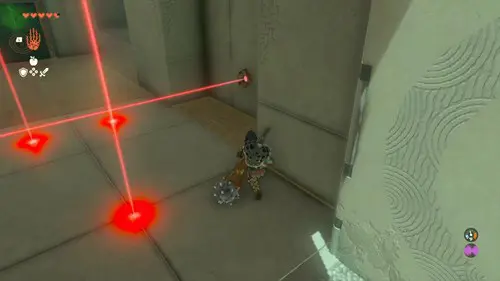
- Climb the ladder ahead, then crouch into the small opening, before gliding down behind the lasers you initially saw.
- Open the chest round the corner, then use Ultrahand on the new set of doors, and walk into the lasers to trigger the floor to drop below you.
- Follow the corridor ahead, avoiding the lasers this time, until you can Ascend into the floor above you and grab the chest.
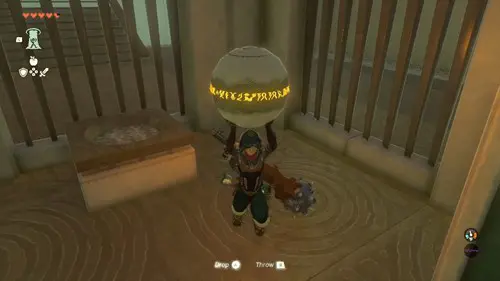
- Now turn around and Ascend into the floor above you again, then run forward to the ball inside the little room.
- Grab the ball and bring it up the stairs, then turn right to take the elevator in the corner.
- Take the ball up the next set of stairs and drop it into the pit to open the doors next to you.
- Grab the glider and fans from the rooms, then set them up, so they're facing back to the start of the Shrine.
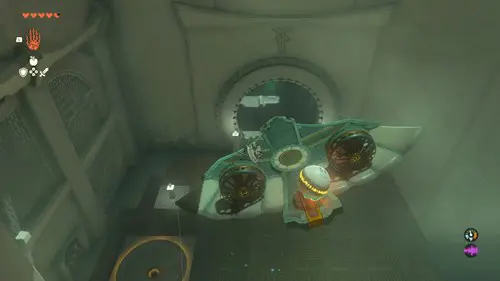
- Stick the ball to the top of the glider, and hit the fans to glide forward until you come back to the entrance.
- Stick the ball in the pit to open the door, and you can now get your reward and leave the Shrine.
That's our full walkthrough of the Zelda: Tears of the Kingdom Orochium Shrine, and now you know the location and how to solve the puzzles inside.
Why not take a look at how to respec hearts and stamina in Zelda: Tears of the Kingdom?

About The Author
Tarran Stockton
Tarran is a Senior Guides Writer at GGRecon. He previously wrote reviews for his college newspaper before studying Media and Communication at university. His favourite genres include role-playing games, strategy games, and boomer shooters - along with anything indie. You can also find him in the pit at local hardcore shows.

