How to find all Prince of Persia: The Lost Crown's map locations
Check out our coverage of how to find all the map locations in Prince of Persia: The Lost Crown, so you can make your way around Mount Qaf easier.
You'll have a hard time finding your way around Mount Qaf in Prince of Persia: The Lost Crown if you don't collect all the various maps.
Each of the game's unique areas can be mapped out as you explore them, but if you want to see all the rooms and locations, or have an easier time collecting Spirited Sand Jars and skins, you'll need to purchase the maps from Fariba.
However, tracking her down can be a tough job, as she's most often found away from the beaten path. So, check out all the map locations in Prince of Persia down below.
SPOILER WARNING Some of the maps may provide light spoilers for locations in the game.
Hyrcanian Forest map location
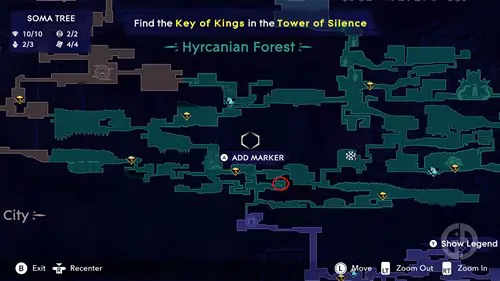
After coming to the second Wak Wak Tree in the Hyrcanian Forest, you can find Fariba by heading directly down and to the right.
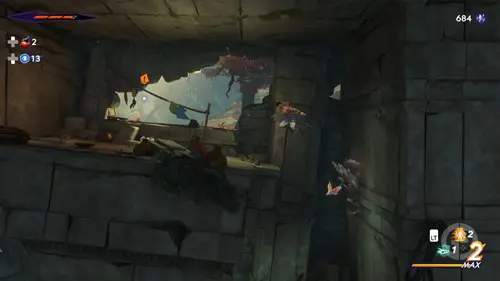
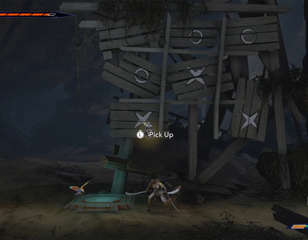
You'll come to an old building that's tilting, and by entering and wall jumping up you can purchase the first map.
Lower City map location
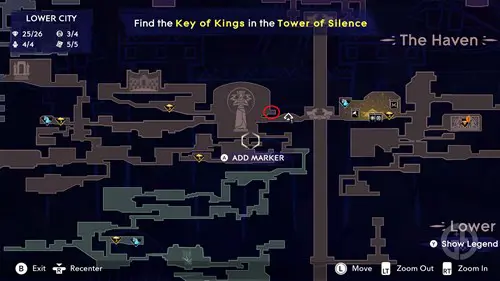
After collecting Menolias's Bow from the forest, you'll need to head back to the massive statue in the middle of the Lower City map.
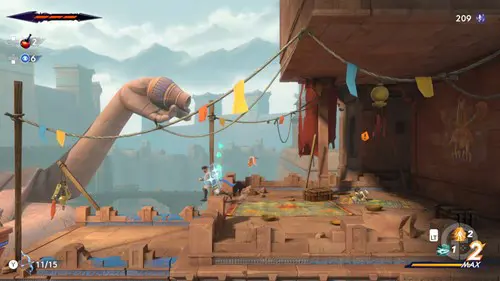
With the bow, you can finally destroy the time bubble up above and restore the statue, creating a path upward. Just jump up, and head directly to the right to locate Fariba and collect the second map.
Sacred Archives map location
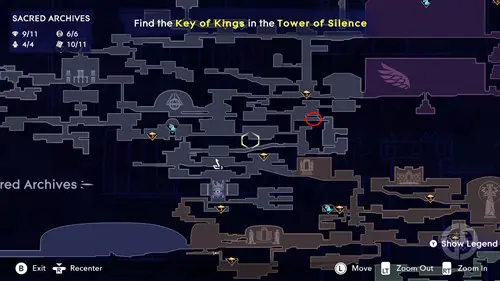
After entering the Sacred Archives and working your way through the area, you'll come to a Wak Wak Tree and a teleporter. From here, make your way directly to the right and travel through a few rooms until you come to an elevator.
Drop down to the bottom of the elevator, and make your way right again, until you come to a room with some temporary platforms and a bell.
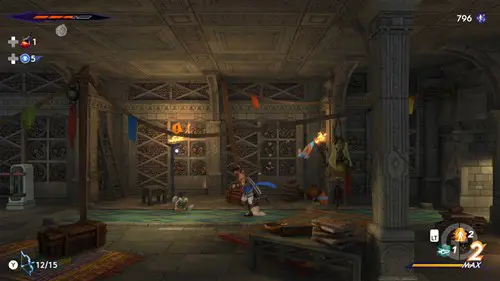
Follow the jumping puzzle to the top of this room, and after heading through the door on the left, you'll come to Fariba and earn the Sacred Archives map.
The Depths map location
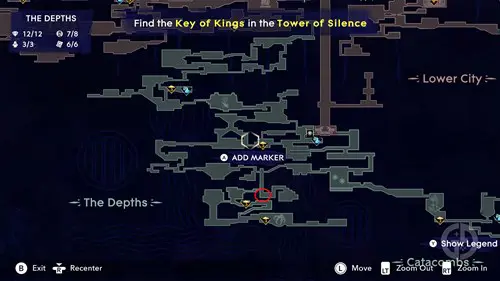
After you get your map back again and complete The Tiger and the Rat quest, go back the way you came for a few rooms until you come to the small elevator again.
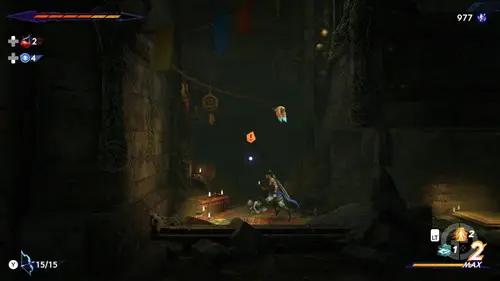
Using your new power, create a shadow on the platform, activate the elevator, and then teleport to the shadow to get under the elevator. You can find Fariba at the very bottom, allowing you to grab The Depths map.
Catacombs map location
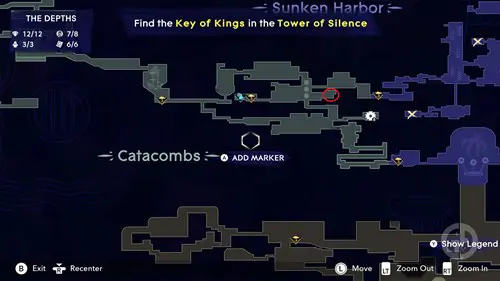
The Catacombs are fairly linear, so follow them along, heading to the right until you get to the end of a large network of corridors with multiple exits on the right. Instead of heading through one of the doors, go up past the breakable platforms.
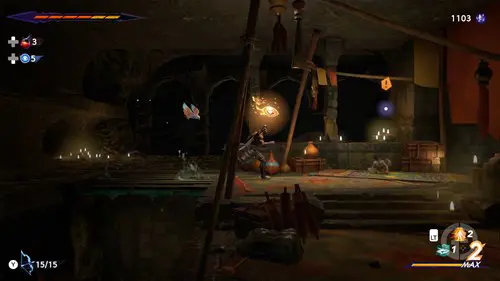
Eventually, you'll get to a door that spits acid at you. Attack this to head through, climb up, and then attack the door on your right. Through here you can find Fariba and the next map.
Sunken Harbour map location
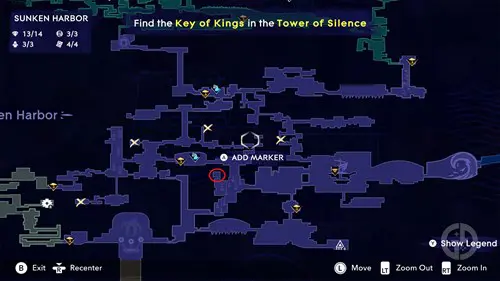
No matter how you enter the Sunken Harbour region, you'll need to locate the room at the bottom as part of the Path to the Sand Prison quest.
After arriving here, exit to the right into a new room, and climb up until you come to another door on your right side.
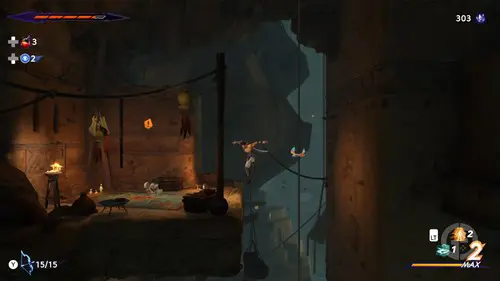
Enter here, and you'll find a room with lots of hanging platforms. Make your way upwards, sticking to the left side, until you find an elevator you can activate with your Chakram. Fariba can be found at the top of the elevator with another map.
Soma Tree map location
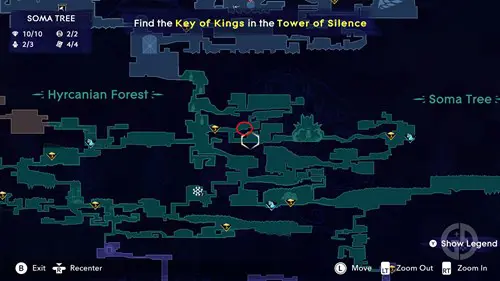
Once you find the Soma Tree region, follow the path west to a Wak Wak Tree and teleporter. From here, continue to the left while making your way upwards. Eventually, you'll come across another Wak Wak Tree.
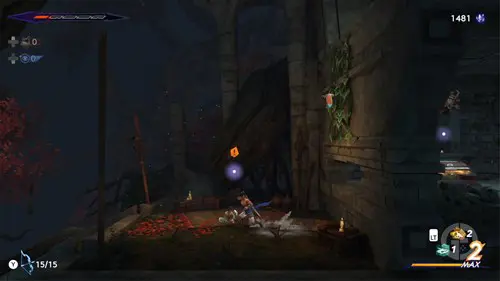
After finding the tree, head directly to the right and follow the stairs up toward Fariba, where you can grab the Soma Tree map.
Old Royal Road map location
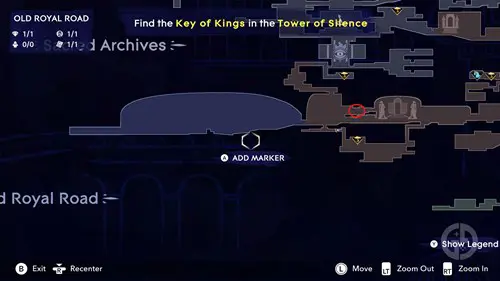
After collecting the Dimensional Claw ability during your trip to the Soma Tree, you can now head back to the starting area in the Lower City.
You can find a destructible wall in a small underground section here, just right of where you enter Mount Qaf at the start of the game.
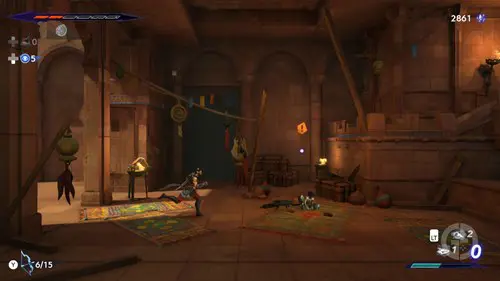
After destroying the wall, make your way through the underground section until you finally surface again. Head right and after climbing the small stairs, turn around and jump to the pole in front of you. Use this to jump up and immediately head right to find Fariba in a hallway.
Temple of Knowledge map location
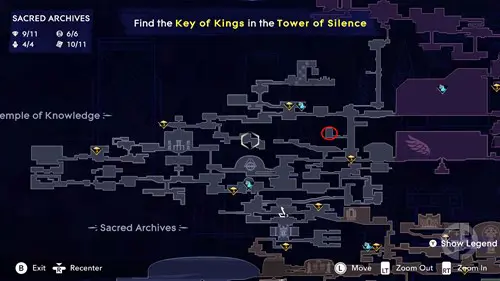
After exploring the Temple of Knowledge for some time, you'll gain the Clairvoyance ability which lets you head up to the top of the area.
Keep making your way up and to the right until you find a Wak Wak Tree and teleporter. From here, travel to the right, defeat the Jailer, and continue on until you get to a room with an elevator.
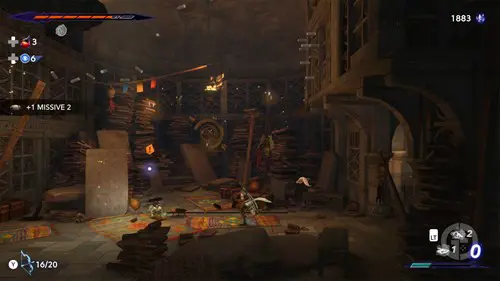
Take the elevator down a floor, then take it down once more, but jump off the platform and to the left straight away. If you head through the door here, you'll Fariba once more.
Pit of Eternal Sands map location
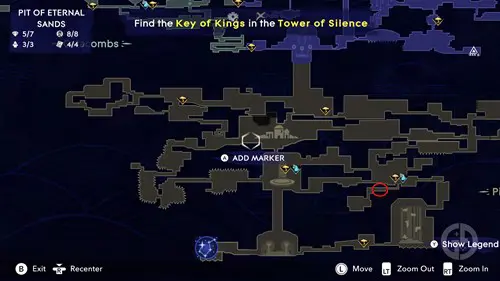
In the Pit of Eternal Sands, while following the main quest, you'll once again find a pit locked by two seals. From the bottom of this room, head directly to the right, and follow the jumping puzzle in the next room to the end.
After you exit this room, you'll find another Wak Wak Tree and a teleporter. From the tree, drop down to the right, and break the destructible wall on the floor with your Dimensional Claw.
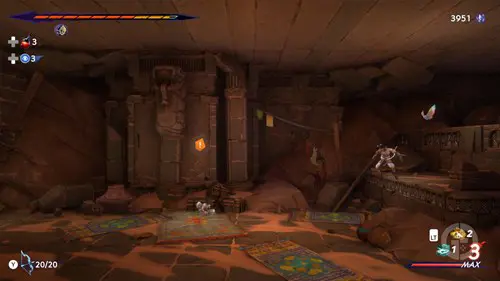
Drop down and follow the path to locate Fariba and the map for the Pit of Eternal Sands.
Raging Sea map location
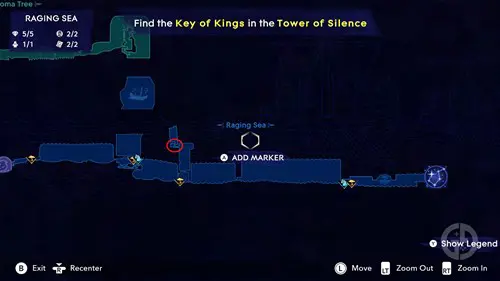
While you're exploring the Raging Sea, keep going until you locate the third Wak Wak Tree in the bottom left corner of the burning ship.
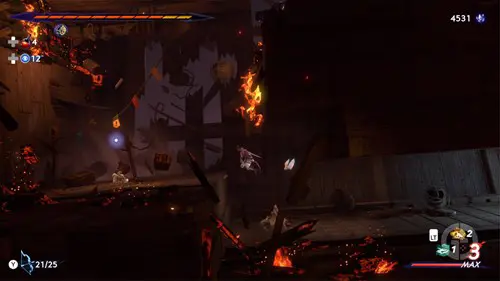
Make your way to the top of the ship and head outside. Using the floating platforms and jellyfish, you can make your upwards and to the left until you come to a floating ship. Go inside and you can find Fariba immediately.
Upper City map location
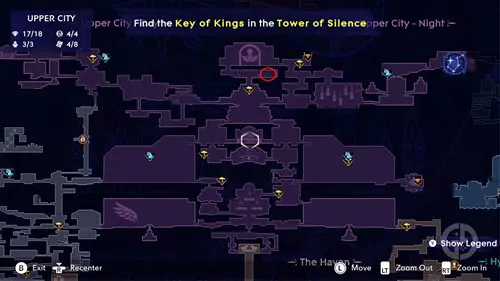
When you head back to the Upper City as part of The Celestial Guardians quest, head back to the teleporter on the west side of the area. Take the elevator upwards, and when you arrive in the next room, keep jumping upwards using the platforms to get to the next room.
This next room will once again require you to continue jumping upwards, but you'll have to deal with fire archers as well. Eventually, you'll come to a Wak Wak Tree at the top; continue jumping upwards into the next room.
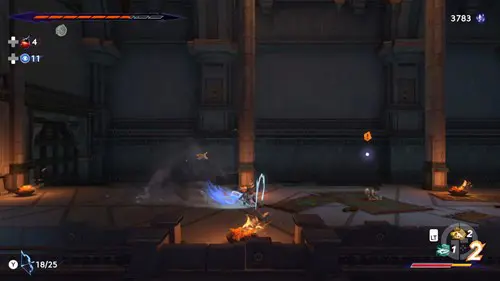
Once you make it and fight two guardians, head into the room on your right side to find Fariba and the Upper City map.
Lighthouse map location
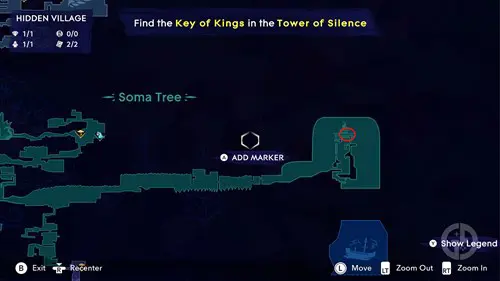
The Lighthouse is an optional area that you can unlock after earning the sash ability, so start by teleporting to the bottom of the Soma Tree. Make your way east from here, completing the jump puzzles along the way.
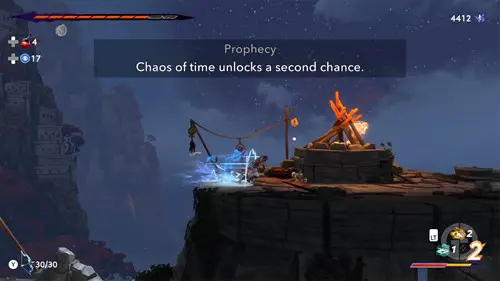
After arriving at the Lighthouse, make your way upwards to the very top of the area. After getting to the top, you can find Fariba next to a pyre, along with the Lighthouse map.
Tower of Silence map location
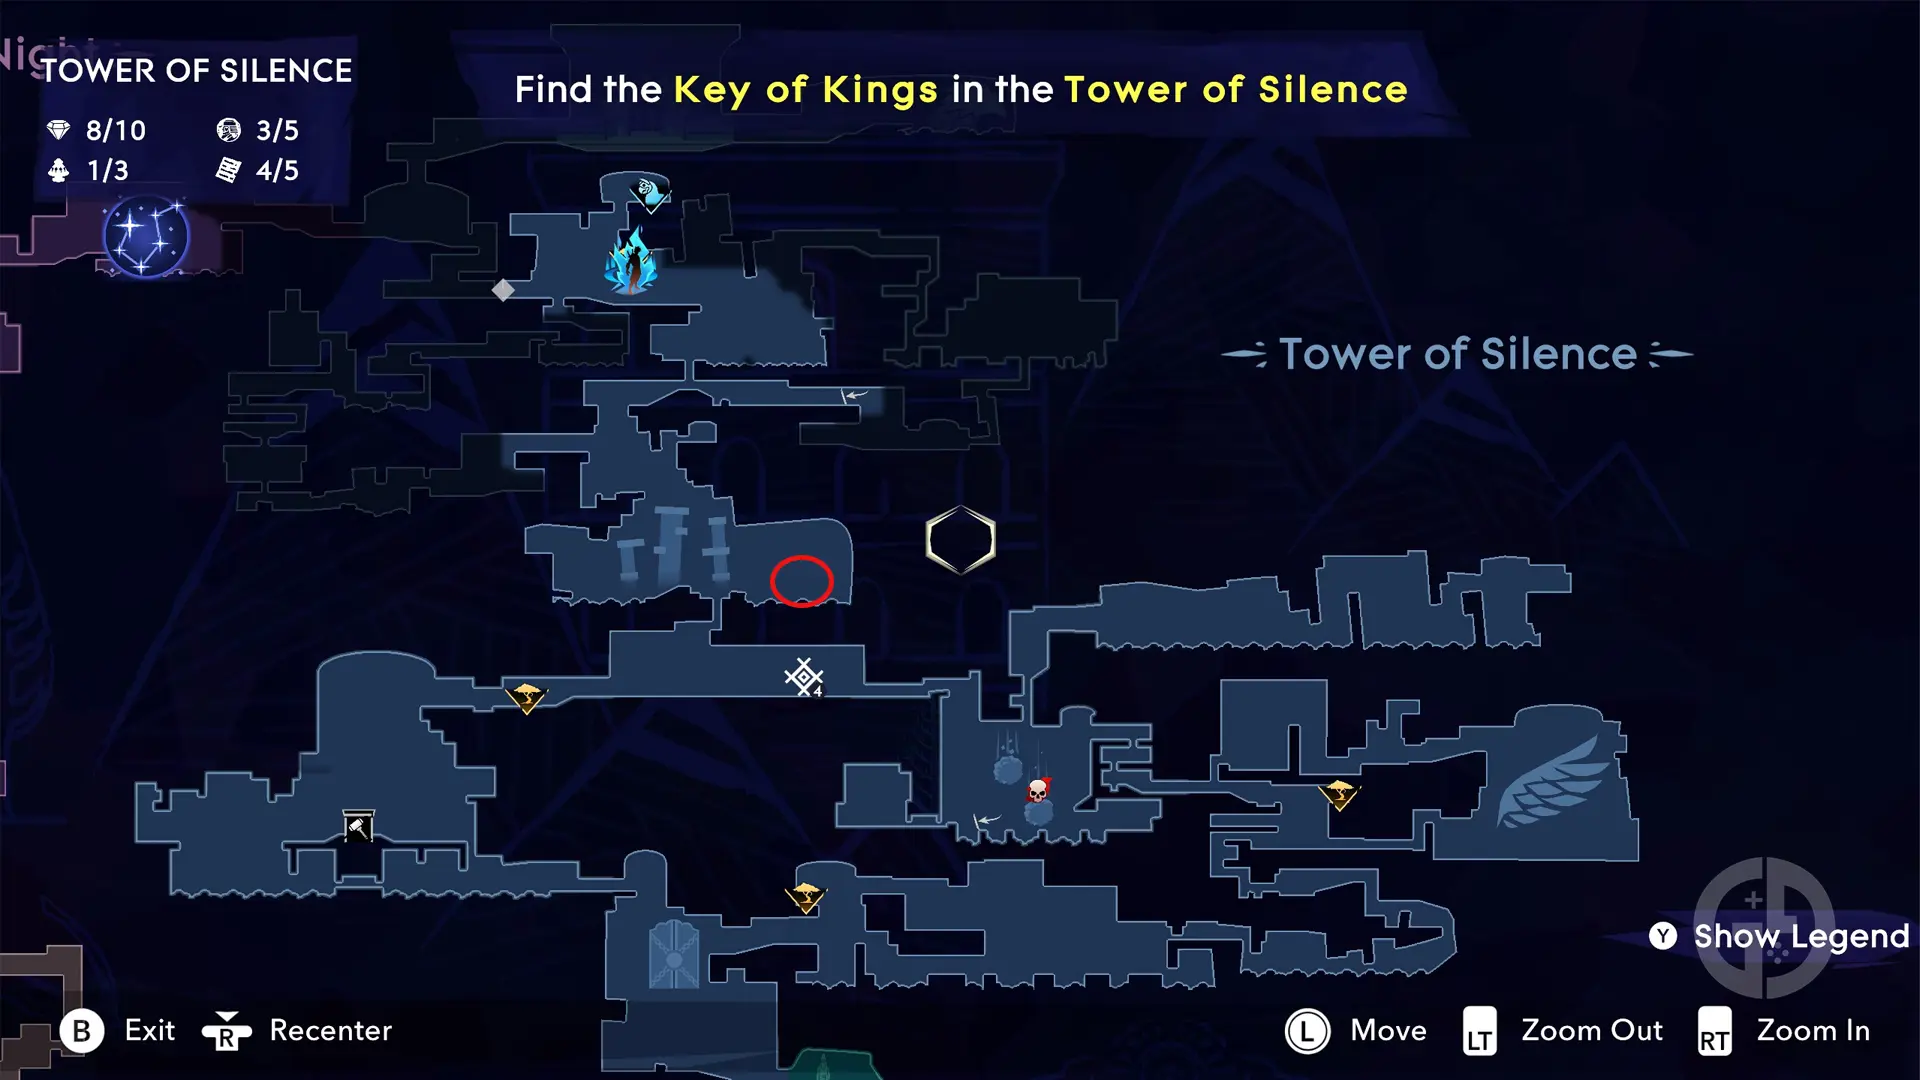
After entering the Tower of Silence, continue onward until you find the third Wak Wak Tree. From this location, head to the right and travel upwards into the new room.
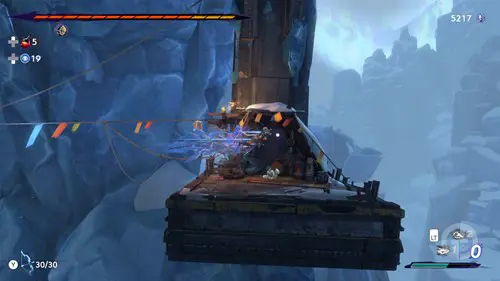
After arriving here, head directly to the right and use your sash to jump across the gap. You can find Fariba here with the final map.
Those are all the locations of the maps in Prince of Persia: The Lost Crown, and now you know how to unlock the full map!
Check out our Prince of Persia homepage for more coverage. Alternatively, learn where to use the Lost Key, the best amulets, and how to upgrade weapons.

About The Author
Tarran Stockton
Tarran is a Senior Guides Writer at GGRecon. He previously wrote reviews for his college newspaper before studying Media and Communication at university. His favourite genres include role-playing games, strategy games, and boomer shooters - along with anything indie. You can also find him in the pit at local hardcore shows.

