Raft Utopia Walkthrough
Check out our full Raft Utopia walkthrough, so you can make your way through the final story area of the game.
Our Raft Utopia walkthrough will allow you to complete the final story location of the game, round out the last chapter, and allow you to see the credits finally roll. Raft takes you across a whole ocean, full of different islands with puzzles to solve, bosses to fight, and blueprints to collect so you can continue to build up your trusty raft. If you've progressed past Temperance and found Raft Utopia, check out how to complete the whole area.
- Check out the Raft hidden achievements so you can earn all the harder achievements.
Raft Utopia: Walkthrough
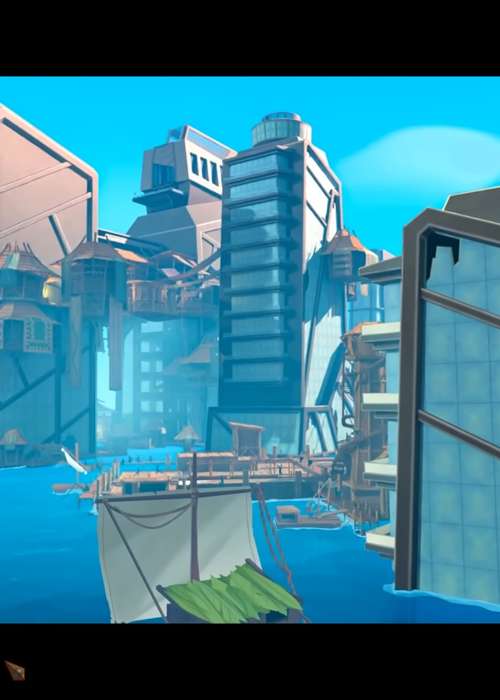
Utopia is the final story location in Raft, and can be found after getting the Raft Temperance code, which gives you the coordinates. There are a fair few puzzles to solve in this area, and a big final boss fight, so carefully follow the steps to make it all the way. The only item that is necessary for this location is the Zipline, which cover how to get in the Raft Zipline parts primer. Other things like strong weapons and healing will also come in handy, and you should have good options to choose from this far into the game.
Firstly, you will want to travel to Detto's house. This is located close to the docks location, and is noted by its tower and the surrounding farms. The door will be locked, but outside there is a map with three red circles and a Shovel. Use the map to locate three piles of dirt in the marked locations and dig them up to find the pieces of Detto's code, allowing you to open the door to the house. Inside here is a blueprint for the Big Backpack, and a massive Harpoon that comes in handy later.
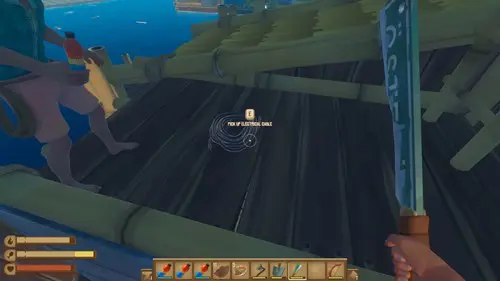
Next, you will want to look for the area across from Ditto's house where a bunch of huts are grouped up together, with electrical boxes on their roofs. There will also be a massive power generator nearby. For this section, you will need to use the boxes surrounding the area to build up and climb the roofs.
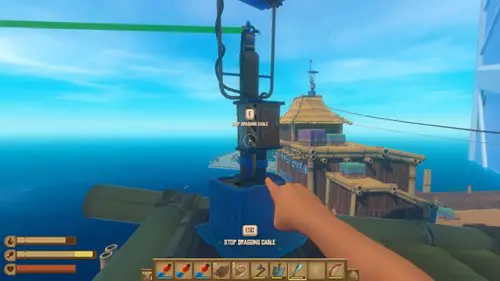
Do this until you have collected five Electrical Cables, connect one to the generators at each end of the area, and then the rest to each electrical box. Once all are connected, the generator will power up, which is denoted by the sparks on the cable lines.
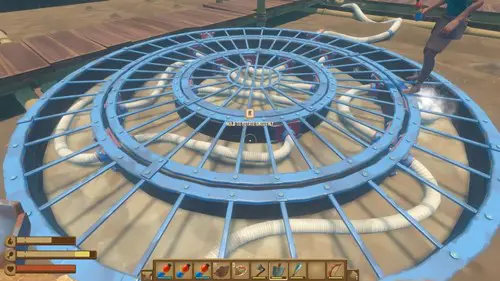
Once the power is all hooked up, you can go back to the farmland area next to Ditto's house, and begin the water puzzle. On the floor in this area will be three massive metal wheels with pipes inside of them. You can rotate three parts on each of the wheels to line up the pipes and get the water flowing. It's made easier if you work from the outside in on each wheel.
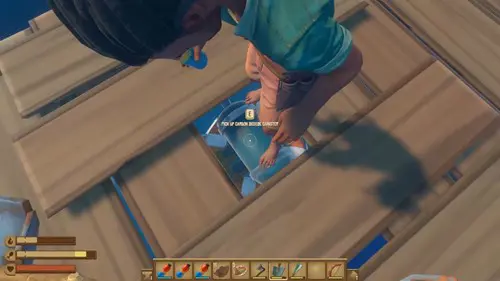
Once the water is flowing from one of the metal wheels, the pipes will begin to animate. Just follow them to the next wheel, and repeat until all are functioning. They will fill up a nearby water tank which the final wheel's pipes lead toward, filling it up and allowing you to collect the Carbon Dioxide Canister from the top.
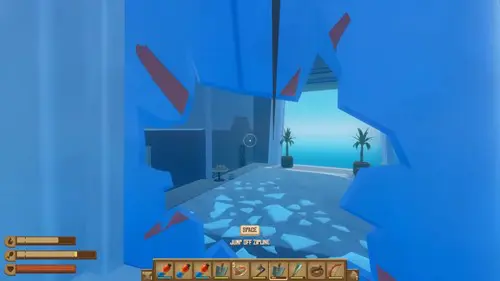
You can use this canister inside of Ditto's house, by interacting with the Harpoon on top of the tower. It will create a zipline for you to use, so you can navigate toward a skyscraper that juts out of the water. This will lead you to a relatively small room with a round table against the left wall, pick up the items on here along with the first Entrance Key. Take the other zipline outside to get back to the wooden walkways.
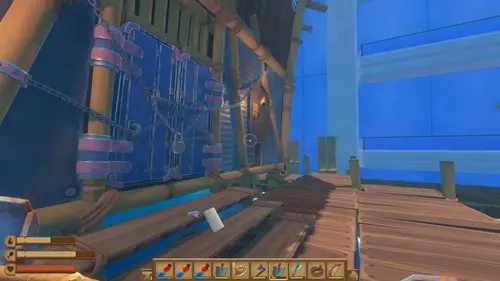
Just in front of where you land when coming off the zipline is a door that requires the two Entrance Keys. Keep following the walkways past it until you get to a big building that requires a Master Key to enter, and on the outside there will be a note and the second key. Return to the previously locked door and open it with the two keys.
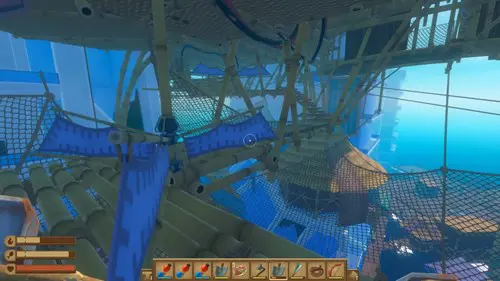
Inside, you can take an elevator upward toward a parkour course. On the right side from where you enter the course there is a lift that can be used to transport items to the other side - this will come in handy later. On the left, you can begin the course, and there is also a ladder that leads up to a door you will need to use later. Begin the course and make it the other side, note that there are safety nets if you do fall. Once you make it to the end, there will be a hole in the building wall and a Hammer on top of a desk.
Drop down onto the nets and make your way back toward the start of the parkour course. Make your way up the ladder to the left, and use the Hammer to enter into the room with the cogs. There are two cog puzzles you will now need to take part in back to back, which involves using the lift to transport the cog up.
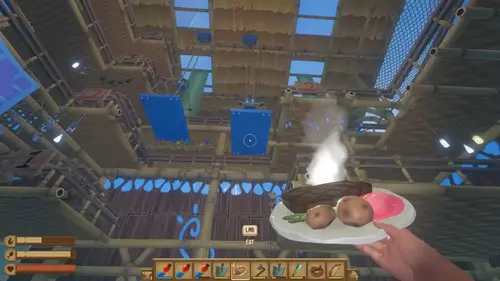
Start by stacking the crates around you over on the right side next to the large coloured boxes. As you can't jump or use ladders when holding a cog, you can use these to transport the cog up to the right side. Collect a cog and get up on the right platform. Now use the ladders on the left side to go to the top and start lowering the other platform. Place weight 3 on it first, let it lower, then place weight 1 and remove weight 3, go back to the level of the platform, place weight 2 and remove weight 1. This will let you jump from one platform to the other, where you can take a cog and put it in the drawbridge to lower it and lead you into the second cog puzzle room.
This involves basically the same process as the first puzzle. First, climb the stairs to the right and put the cog on the platform. Head up the ladder on the left to the top floor and add weight 5, let it lower, and add weight 1 before removing weight 5. Add weight 4 then remove weight 1, add weight 3 then remove weight 4, add weight 3 then remove weight 2. You can jump across the platforms again, collect the cog, and head down the stairs through the door to another drawbridge.
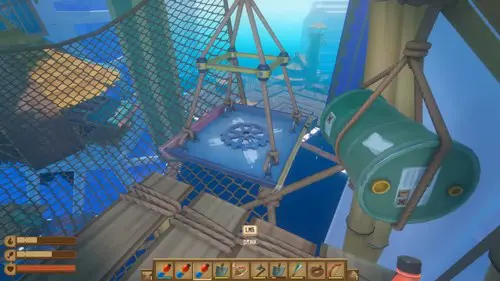
Pick up the cog once the drawbridge has lowered, and then go to the right side of the parkour course entrance to place the cog on the lift, then send it over toward the end of the course. You can now make your way through the course again, pick up the cog, and place it in the broken elevator.
Raft Utopia Walkthrough: Olaf Boss
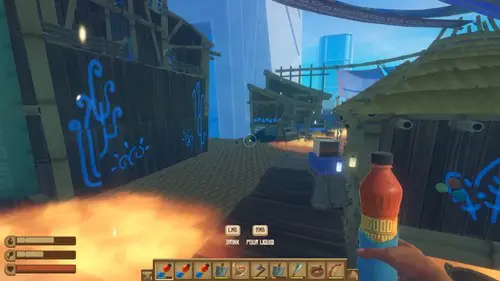
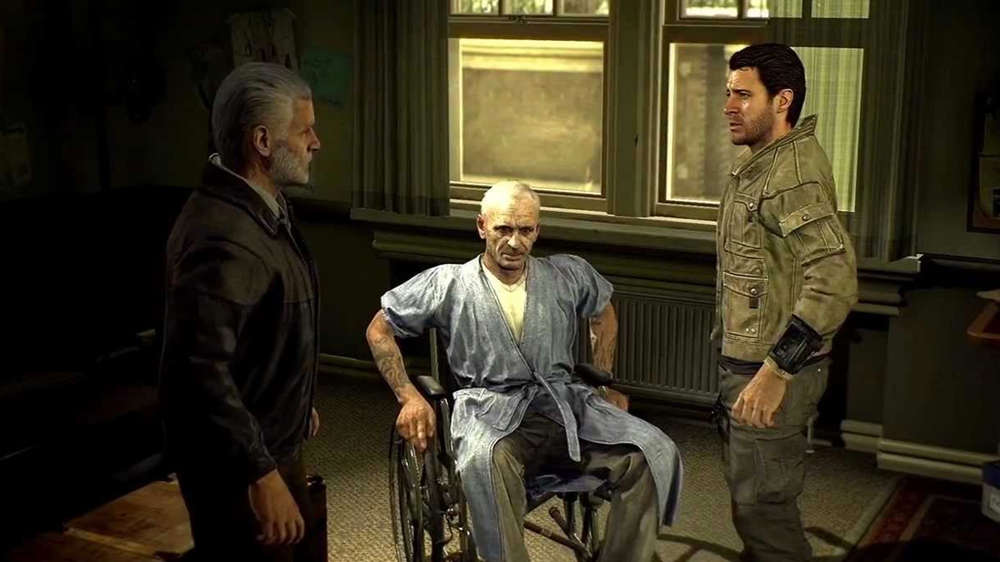
Once you reach the top of the elevator, follow the platform until you get to Olaf. He will shout some things at you from a ledge and then start throwing grenades at you. During this, you will need to collect all the crates from the arena to stack them and climb up to the ledge that Olaf is on. Once you reach him, he will run away. Don't follow him too quickly, and make sure to pick up the Electric Zipline blueprint on the left, along with the Warehouse Key. Take the door out and follow the walkways to a door which requires the Warehouse Key.
This is the second Olaf encounter, but this time there are also Hyenas to be weary of. Drop down into the arena and begin by killing all the Hyenas. Once this is done, start collecting all the crates again to build up to where Olaf is. He will periodically release more Hyenas and throw bombs at you, so hide when you need, and stay away from the explosions. Once you make your way up, he will run away again, so follow him up the stairs and across the corridor to another room you can drop down into.
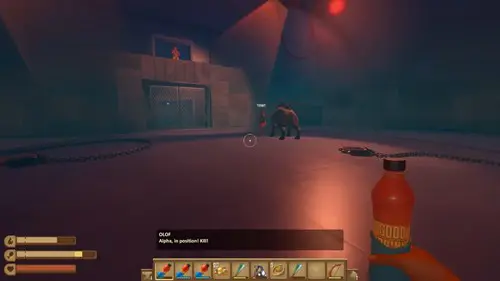
This is where the next boss fight happens, but you will be fighting a Hyena Alpha. There's no real gimmick to this fight, so you just need to keep wailing on it until its health reaches zero. There are some things to note though. Sometimes Olaf will throw it food, which makes it invincible for a short period, denoted by a green glow. After this invincible periods, it can perform a grab or jump attack, so watch out and dodge this before attempting to deal damage again. Hitting the Hyena will also cause it to spawn a puddle of poison on the floor, so don't stay next to it after landing a hit. It can also throw rocks at you, but this is telegraphed, allowing you to dodge. Once the Alpha is dead, the doors in the arena will open and let you continue.
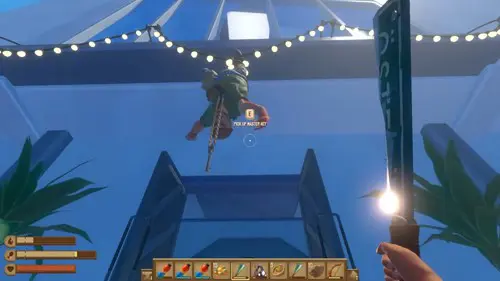
Make your way up the elevator for the final showdown with Olaf. Just walk towards him, and he will fall backwards out of a broken window, causing him to get tangled in some lights above a balcony. Take the Master Key from his neck, and then take the other elevator down. Go out of the building through the makeshift wooden door, and use the Master Key on the hut on your right, which will trigger a cutscene and the end of the game where you free Utopia.
That's all for our breakdown of the Raft Utopia walkthrough, and now you know how to make it through the final area of the game and roll the end credits.
We also have a breakdown of the Raft Juicer recipes, which covers how to build the structure and what kind of smoothies you can make.

About The Author
Tarran Stockton
Tarran is a Senior Guides Writer at GGRecon. He previously wrote reviews for his college newspaper before studying Media and Communication at university. His favourite genres include role-playing games, strategy games, and boomer shooters - along with anything indie. You can also find him in the pit at local hardcore shows.

