Starfield Red Mile race guide
If you're struggling to complete the Red Mile race in Starfield, we've got you covered for how to best prepare for it and complete it with relative ease.
This is part of the ‘Starfield’ directory
Directory contents
-
Planet Rover
-
Match Look & Aim Sens
-
Best Controller Settings
-
Best Mouse & Keyboard Settings
-
Best Outpost Planets
-
Best Graphics Settings
-
Console Commands
-
Flashlights
-
Fix Suit Protection
-
Fuel Generator
-
Cheap Ammo
-
Pick Up, Move, Throw Items
-
Change Appearance
-
Hide Helmet
-
Remove Bounties
-
Remove Traits
-
Respec
-
Wait & Pass Time
-
Jail
-
Persuasion Explained
-
Starborn Explained
-
Level Up Fast
-
Outpost Transfer Containers
-
Transmog
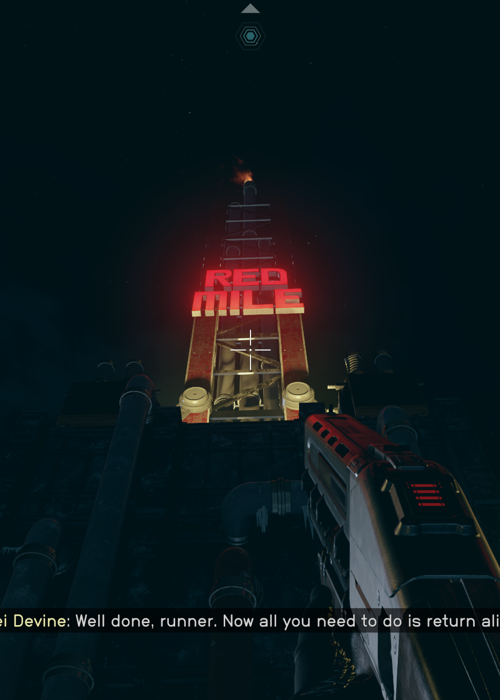
Eventually while playing Starfield, you’ll come across the Red Mile race on Porrima III in the Porrima system. This illegal gambling ring is home to one of the most dangerous sports in the galaxy, and it’s something straight out of The Hunger Games.
No matter which questline you’re mainlining in Starfield, you’ll no doubt come across the Red Mile race sooner or later. It’s part of both the Freestar Rangers and Crimson Fleet questlines, so you’ll need to complete this dangerous activity in the game sooner or later.
However, the Red Mile race is no slouch, so you’ll need to make sure you’re properly prepared for it. Here’s what you need to know about the Starfield Red Mile race, as well as how to complete it with relative ease.
The Red Mile race is an almost gladiatorial sport that tasks ‘Runners’ with navigating their way across a dangerous crater to activate a beacon, and then make their way back again. Sounds easy, right?
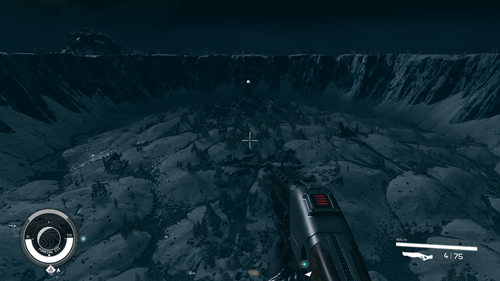
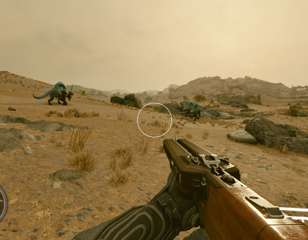
It would be - if the crater weren’t inhabited by incredibly dangerous Red Mile Maulers, and plenty of poisonous fauna that emit toxic gas clouds. To make matters worse, the gravity on Porrima III is twice that of Earth’s gravity, so your stamina is used up more quickly, and your jetpack is almost useless.
- These are the best ships you can get in Starfield
The key to completing the Red Mile race is preparation, as once you enter the crater, there’s very little in terms of resources that you can scavenge.
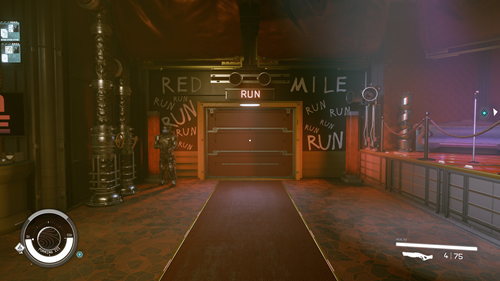
So, before attempting the Red Mile race, be sure to stock up on as many Med Packs as you possibly can. It’s also a good idea to ensure that you have plenty of ammo for your most powerful weapons, as you’ll need it to keep the powerful enemies at bay.
It’s also worth considering coming back when you’re at a higher level and have a few more skill points to invest in your survivability skills. Boosting your total health, amount of oxygen, and jetpack perks will all go a long way in making the Red Mile race a little easier for you.
- Here are all the Starfield factions, explained
There are two main ways in which you can complete the Red Mile race:
- Approach it like any other combat encounter and kill all enemies in your path, making your way to the beacon slowly
- Sprint past all enemies and only tackle them when you need to, getting in and out as fast as you can
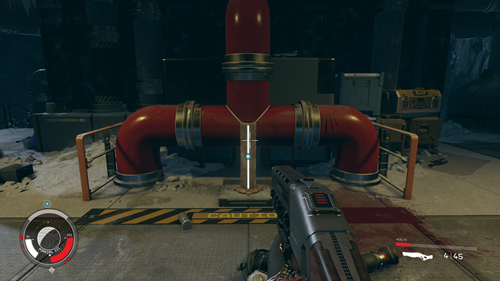
Since we approached the Red Mile race at quite a low level (Level 12, to be exact), we opted to go for the “sprint past all enemies” method. While this proved to be successful, it was certainly still challenging. Be sure to quicksave at the very start of the Red Mile race to avoid any disappointment after countless deaths.
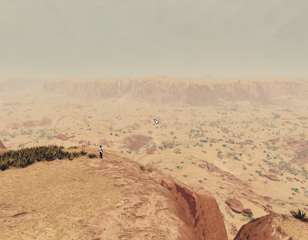
Once you’re in the crater, you’ll see the beacon straight in front of you atop a small hill. You’ll first need to descend slightly into the valley, and then make your way up the hillock to the beacon above.
You’ll notice plenty of Red Mile Maulers of varying difficulty levels all trying to attack you. As mentioned, you can either choose to kill these enemies or sprint your way past them.
Once you’ve activated the Red Mile race beacon, the light and sound will start to attract more enemies to your location. This is when you need to move as fast as possible, using your jetpack to descend down the hill in a quick, but controlled way.
Before the gravity on the way back - it’s very easy to break or dislocate a limb, which could leave you limping or even over-encumbered while trying to get back to safety.
Once you’re back at the starting point of the Red Mile race, head back into the elevator and it will take you back up to the relative safety of the bar above. You’ll then be able to speak with the relevant NPCs to collect your reward and advance each questline.
Whichever method you choose to approach the Starfield Red Mile race, be sure to have some patience. It’s meant to be a difficult challenge and may take a couple of tries. Consider lowering the difficulty level if it’s causing some genuine bother.
- Here are all of the Starfield traits and backgrounds you should consider choosing
That’s everything you need to know about the Red Mile race in Starfield, including how to find it, what it involves, and how to complete it.
For more Starfield guides, keep reading GGRecon.

About The Author
Joshua Boyles
Joshua is the Guides Editor at GGRecon. After graduating with a BA (Hons) degree in Broadcast Journalism, he previously wrote for publications such as FragHero and GameByte. You can often find him diving deep into fantasy RPGs such as Skyrim and The Witcher, or tearing it up in Call of Duty and Battlefield. He's also often spotted hiking in the wilderness, usually blasting Arctic Monkeys.
This is part of the ‘Starfield’ directory
Directory contents
-
Planet Rover
-
Match Look & Aim Sens
-
Best Controller Settings
-
Best Mouse & Keyboard Settings
-
Best Outpost Planets
-
Best Graphics Settings
-
Console Commands
-
Flashlights
-
Fix Suit Protection
-
Fuel Generator
-
Cheap Ammo
-
Pick Up, Move, Throw Items
-
Change Appearance
-
Hide Helmet
-
Remove Bounties
-
Remove Traits
-
Respec
-
Wait & Pass Time
-
Jail
-
Persuasion Explained
-
Starborn Explained
-
Level Up Fast
-
Outpost Transfer Containers
-
Transmog


