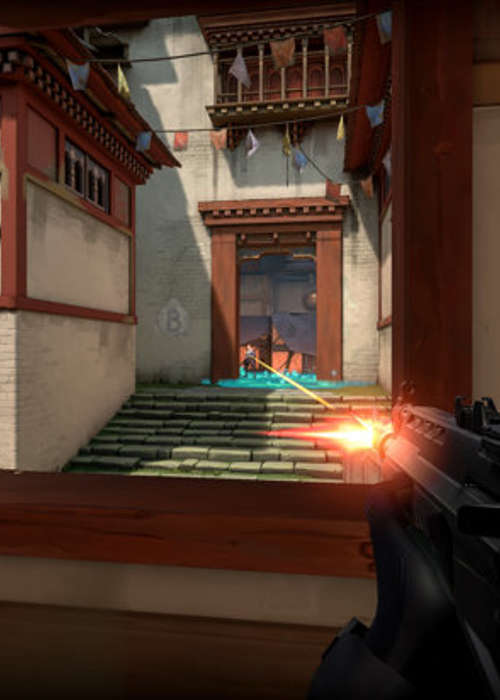
Best VALORANT Aim Guide: Fastest Ways to Improve Your Aim
Follow these aim-training routines with the best VALORANT aim guide if you want to get better and improve your rank.
This is part of the ‘VALORANT’ directory
Directory contents
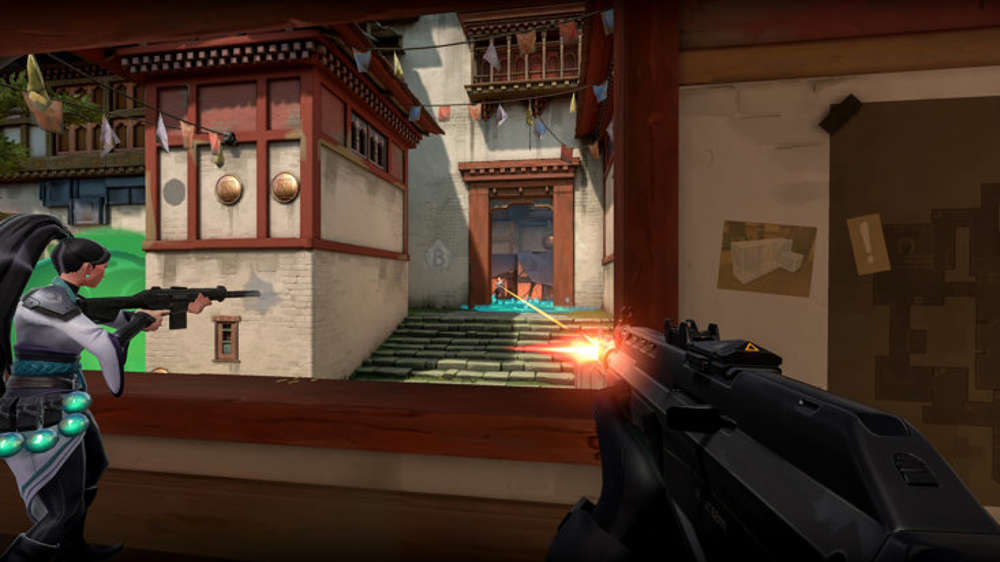
Beyond the abilities and strategies the game of VALORANT has to offer, it goes without saying that when it comes to success in the FPS, it all comes down to one simple thing: aim. At the end of the day, VALORANT is a shooting game, and the difference between winning and losing is often based on whether you can secure that kill or not and the most effective way to consistently land frags is to have good aim. That being said, it's time to train up - here is GGRecon's best VALORANT aim guide.
Why you should aim train every day
Spending even as little as 20 minutes a day on aim training will dramatically increase your speed and reaction time. Quite frankly, the point of ‘aim training’ is to build muscle memory - which does require a bit of discipline. Building up muscle memory will allow you to react in situations without needing too much intervention from your brain, where it’s trying to assess what’s the best thing to do in said situation, and cutting out those seconds or milliseconds of processing will give you a huge advantage over your opponents.
Sure, some people are blessed with quicker reaction times or have more experience with FPS games, so will naturally find it easier to become accustomed to the aiming part of VALORANT and excel, but even the best of the best will spend a lot of their time aim training to maintain that consistency - or to try and get better.
In our best VALORANT aim guide, we will show you the best and most efficient ways to improve the fundamentals of ‘aiming’ as well as offering you a rundown on what you can do out of the game to give yourself an even bigger advantage.
Before we get started, it’s important to identify what you’re really doing when it comes to aiming in VALORANT and break down the components that you should focus your training on. The following three areas cover more or less every situation in the game that requires you to best your opponent with just your weapon.
Flicking
You’re halfway there if you already have a good reaction time but working on all of these areas will guarantee an improvement to your reaction time on top of having a better aim. In fact, improving your flicks is one of the best and easiest ways to start. Everyone has been in situations where you’re facing or swinging around a corner expecting to see one opponent but you’re met with two, three or maybe even the entire enemy team. Perhaps you’ve killed one on site but there was another that decided to face you from a completely different area or angle. This is something that is pretty applicable to every FPS game but more importantly, in VALORANT specifically, there are other things such as a Sova recon dart, Cypher’s camera or Reyna’s flash that requires you to shoot to destroy, in order to have a fighting chance, and alongside facing multiple enemies at once, this is where it’s incredibly important to improve your flicking.
Flicking is the ability to be able to move your crosshair from its origin to an intended target, or multiple targets and luckily, there are many different tools you can use to improve this.
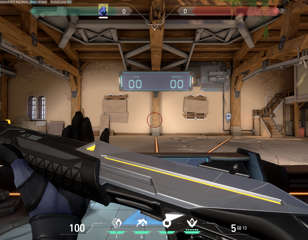
VALORANT offers a practice tool that allows you to get used to weapons’ recoil or try out agents’ abilities, but the most important component is its shooting range where you can spawn robots to train your flicks. All you have to do is to spawn the robots in the shooting range and kill them with whatever weapons you like, while this is the easiest way you can aim train, it’s not very effective. The robots often spawn very closely to each other and there is no option for them to spawn at different heights or emulate an enemy who might be crouching.
But worry not, there are some other great alternatives outside of Riot’s FPS you can try out that can be easily transferred to VALORANT, all you need is a Steam account to get started, and continue your progress in this VALORANT aim guide.
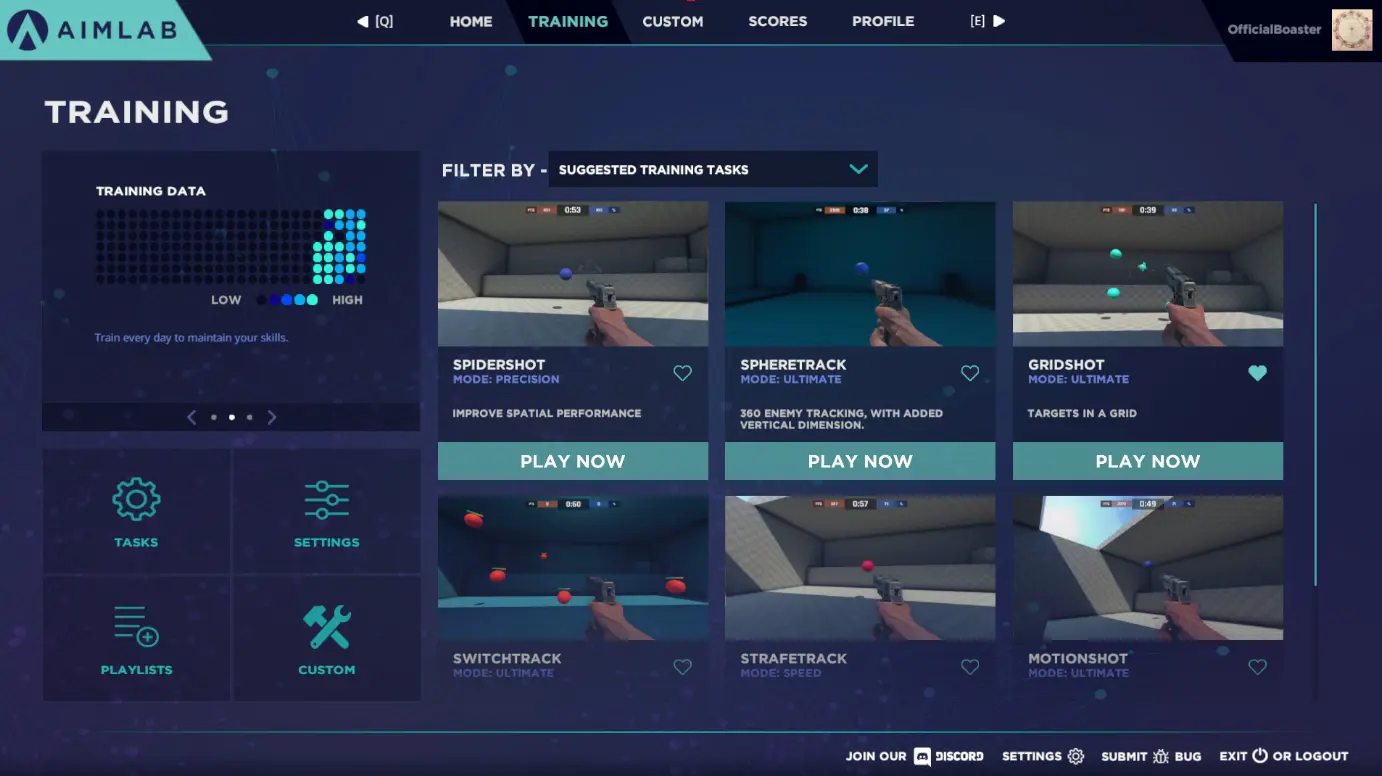 Image via Aim Lab
Rated nine stars out of ten on Steam, Aim Lab is a must-have for anyone who is serious about improving in any shooting game, including VALORANT. The free game is specifically designed for aim training and offers a wide range of mini-games to play, and tasks you can perform, to get better. It even has a tool which tracks your daily progress.
When it comes to flicking, the most useful training tasks are ‘Spidershot’ and ‘Gridshot’. These are simple and cleverly designed to challenge your flicking skills and great exercises to do if you’re pressed for time too.
If you looking for a different interface but a similar experience, you can also try out KovaaK which is also on Steam. Unlike Aim Lab which is free to download, KovaaK is currently priced at $5.99 which is the main downside when it comes to choosing between the two softwares.
If you want to focus on flick training then ‘1wall6targets TE’ and ‘Reflex Flick - Fair’ are the exercises you want to be spending the most time on. You should ideally try to do these or the Aim Lab ones five times each which equates to roughly around five minutes per exercise.
Tracking
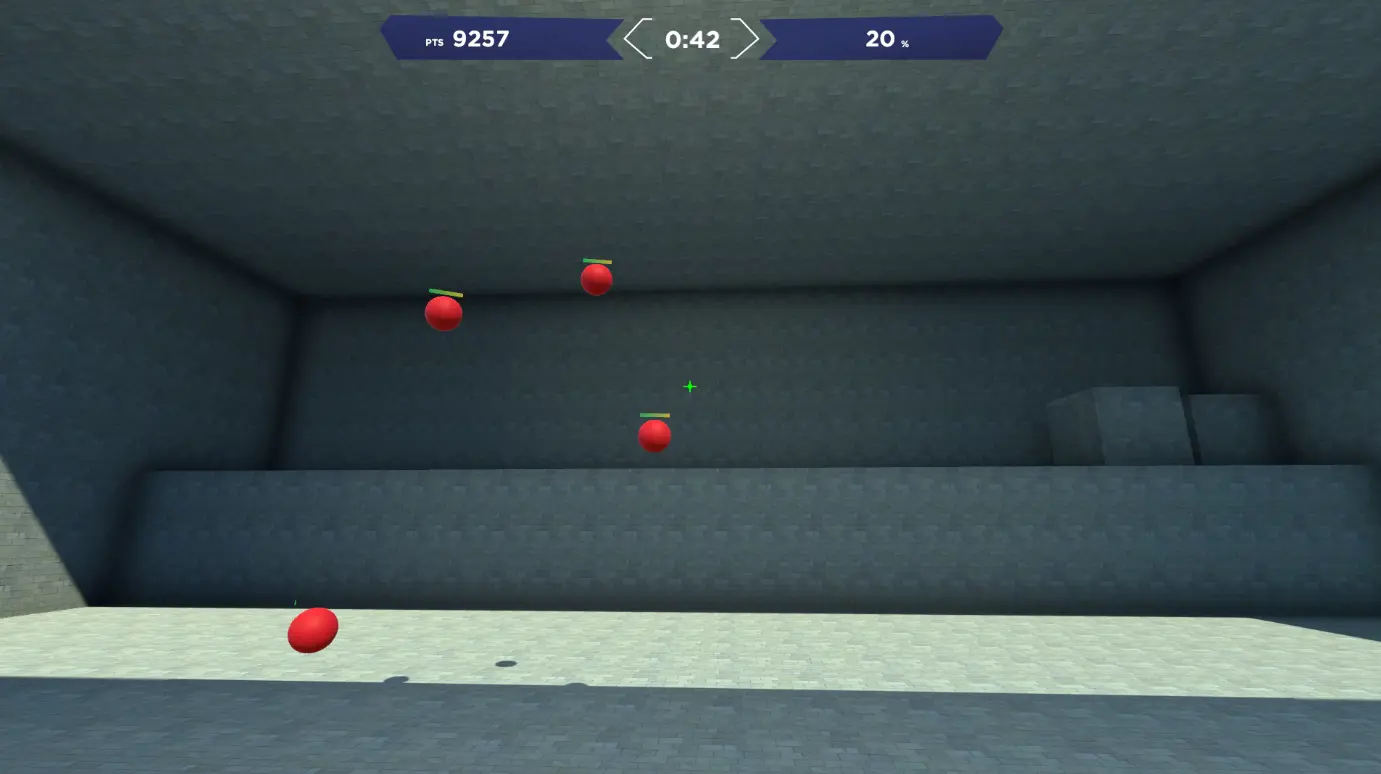 Image via Aim Lab
The next important thing to work on is tracking. Tracking is the ability to keep your crosshair on the enemy target while they’re moving, and if you’ve played a fair amount of VALORANT you’ll know how difficult it is sometimes to track your opponents when they’re moving from one direction to another or even jumping up and down unexpectedly. Fortunately, this is another thing you can train your muscle memory on, and once again there are ways in VALORANT itself, as well as Aim Lab and Kovaak to help you improve your tracking.
The practice tool in VALORANT allows you to spawn robots that gently move from side to side, all you have to do is turn on ‘Strafe’ in the shooting range menu and off you go. However, this isn’t the best way to improve your tracking ability due to the lack of variety in angles, positions and speed of the robots.
Therefore, we’d recommend Aim Lab and Kovaak for this one too. Kovaak offers ‘Cata IC Long Strafes’ and ‘Ascended Tracking v3’ as two useful tracking exercises, but do keep in mind that the robots in these tasks move faster than agents do in the game of VALORANT, so it can be a little counter-productive if you solely concentrate on using Kovaak as a part of your training.
However, Aim Lab offers a far better alternative. Both ‘SphereTrack’ and SwitchTrack’ are extremely useful when it comes to being able to properly increase your tracking abilities and both of these should also be done around five times each if you’re looking for a serious training regime and if you’re pressed for time, repeat the exercise one or two times after your flicking practice to successfully complete this part of your VALORANT aim guide training.
Precision
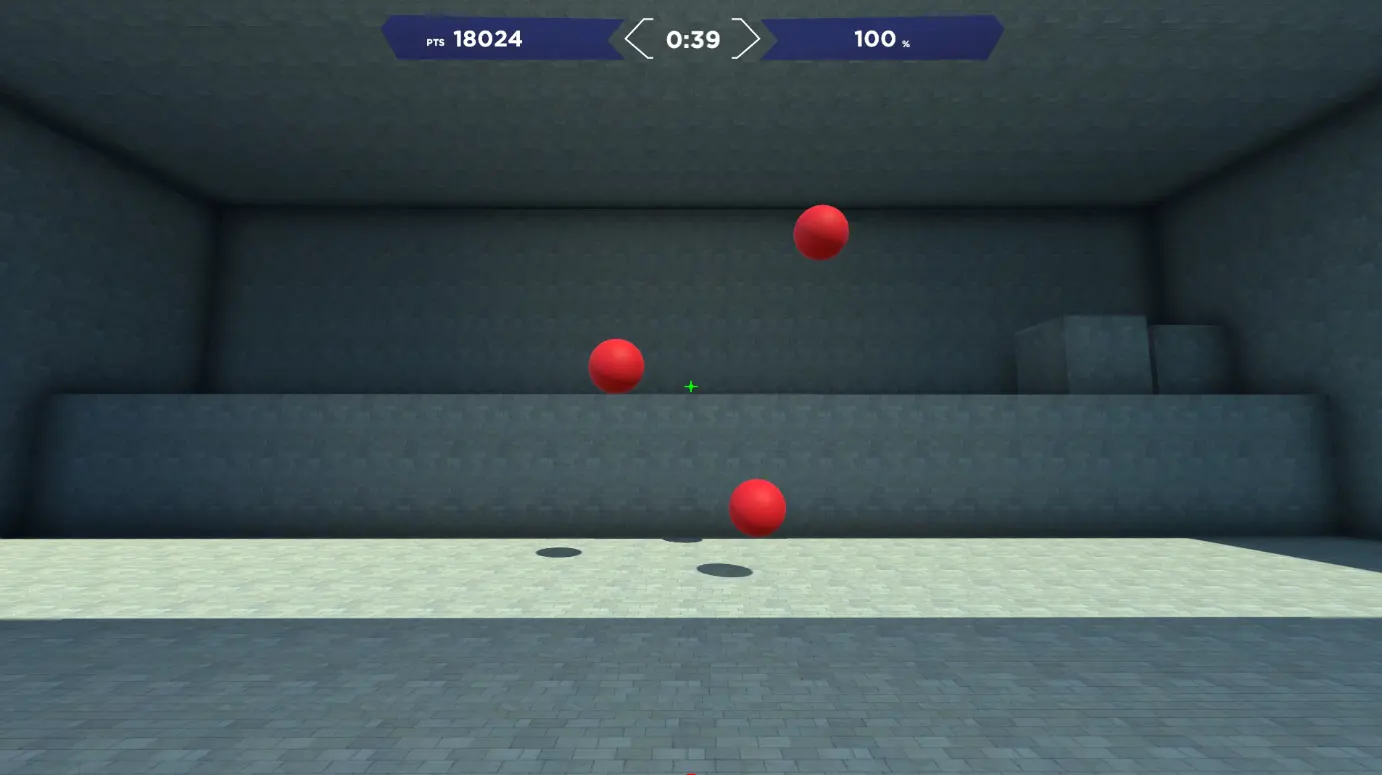 Image via Aim Lab
Now, this one is a little harder to pinpoint because both flicking and tracking involve a certain degree of precision training, however, it’s still something that you can isolate with muscle memory.
It’s one thing to have good reaction time but that’s fairly useless if you don’t pair it up with consistent accuracy. In the VALORANT shooting range, you can set a 30 second time challenge to see how many robots you can destroy and it also comes with three different modes - with ‘Hard’ naturally being the best one for training.
In Aim Lab, you can change both ‘Strafetrack’ and ‘Motionshot’ to precision mode which allows you to be more precise with your precision training. While ‘Strafetrack’ also targets tracking, it’s an easy way to hit different areas of training altogether.
Physical exercises
While using tools such as Aim Lab can help you improve your aim in-game, there are other ways you can dramatically increase your chances of getting better at VALORANT. In order to be able to complete your daily aim-training routines which should be around 30-40 minutes, you also need to take care of your arms and wrists to make sure you don’t injure yourself.
Dr. Raul Ramirez, an Esports Physio who has had experience treating and helping FPS players, explains why it’s so important to combine physical exercises with in-game ones.
He said: “A warm-up/recovery routine can assist in preventing tendinopathies and repetitive strain injuries. A warm-up routine helps prime the muscles that you’re about to use in gameplay. It tells your brain 'hey, start waking these muscles up and prepare them for a full-blown gaming session.'"
"A recovery routine helps relieve tension that has built up in your arm muscles (i.e. stretching out the muscles that are constantly contracted in order to keep your wrist slightly extended over your mouse). If you want to cover all your bases, a structured endurance and strength routine is ideal. That typically can look like 15-25 minutes a day, 3 to 4 times a week in order to build tolerance and endurance in your muscles and tendons and to keep your nerves moving. But a simple warm-up/recovery routine is a really good way to start and help keep yourself out of injury.”
Don’t worry if you’re not sure what the easiest and best physical routines are, Dr Ramirez specifically tailored and recommended the following warm-up and warm-down routines to get you started.
Of course, there are more ways you can improve your aim over time but if you have some discipline and follow a 30 minutes training regime alongside proper physical wrist and arm exercises, you’ll be on your way to Radiant in no time, thanks to this VALORANT aim guide.

About The Author
Yinsu Collins
Yinsu Collins was a freelance contributor to GGRecon.
This is part of the ‘VALORANT’ directory
Directory contents
